Last updated November 17, 2026


Free written scope consultation - allowances, timeline, and change-order rules on paper before a single trade is scheduled
Kitchen Remodeling Troubleshooting: Common Problems and How to Fix Them
The most expensive kitchen remodel mistake we see in Summerlin happens the day after rough-in inspection passes. The walls are open, the inspection sticker is signed, and the drywall crew is scheduled for Monday. Nobody has yet put a tape measure to the outlet boxes. Nobody has checked the vent hood rough-in against the actual hood spec. Three weeks later the cabinets go in and the homeowner discovers the microwave outlet is behind the microwave, the under-cabinet lighting wire is eight inches off, and the hood housing is too low for the model they bought. Fixing it means opening finished walls. This guide walks the four checkpoints where kitchen remodel problems cluster – after demo, after rough-in, at cabinet delivery, and at final punch – with specific pass/fail criteria so you catch the problem before it’s buried.
Quick Answer
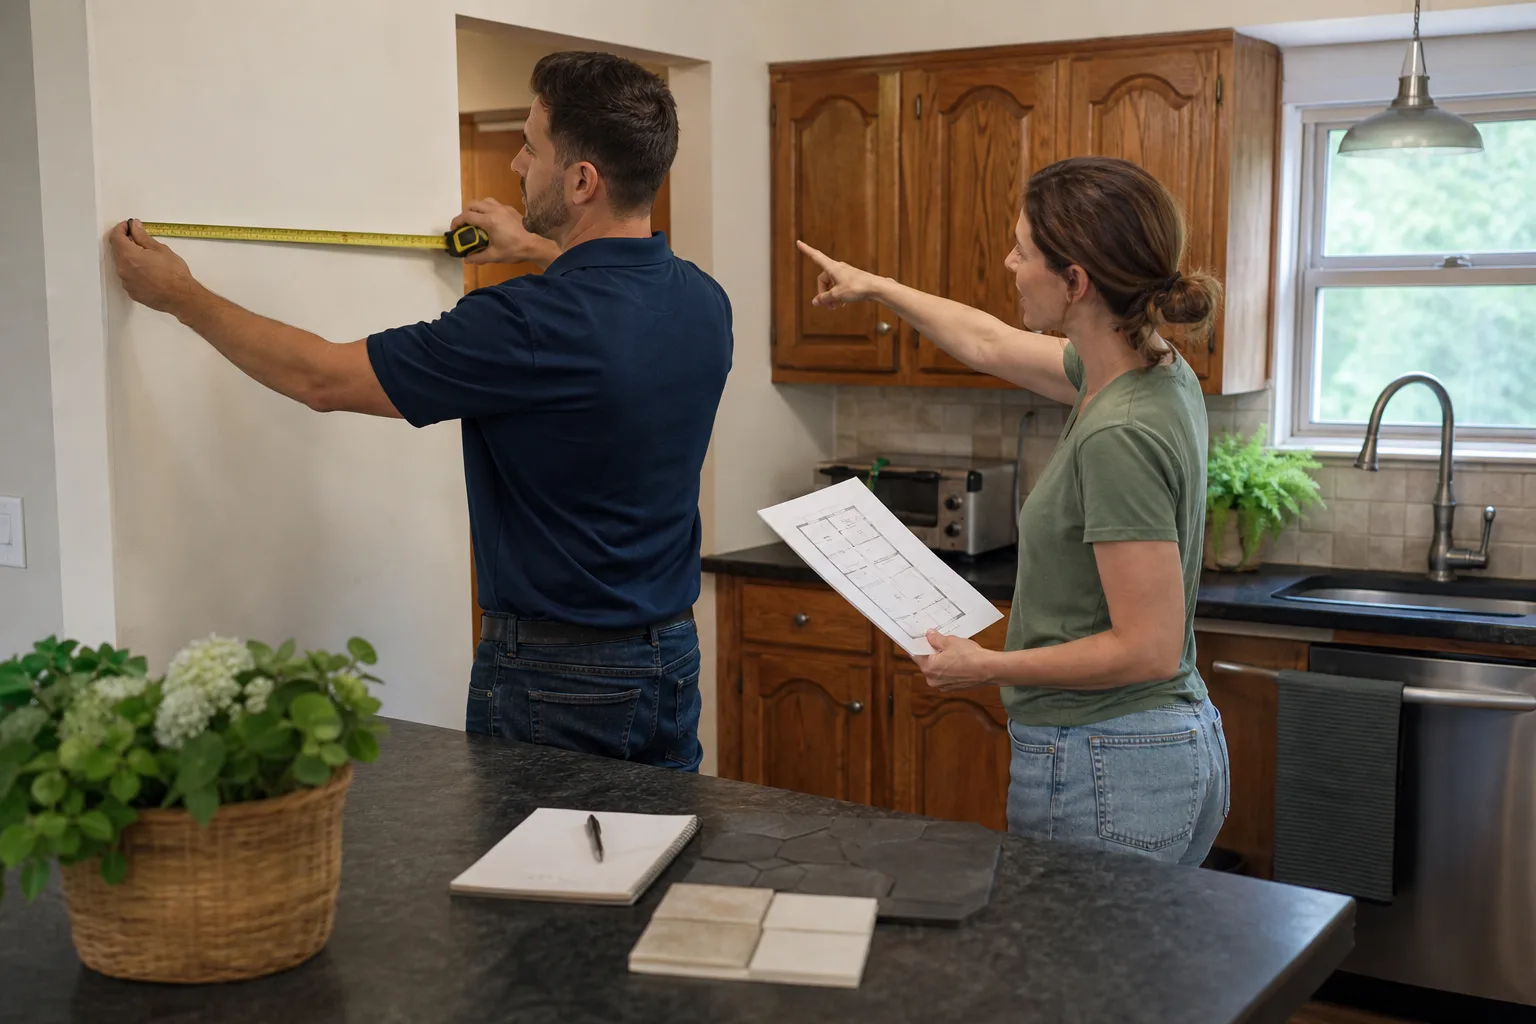
Most kitchen remodel problems are caught at four checkpoints: the post-demo inspection, the rough-in walkthrough before drywall closes, cabinet delivery day, and the final punch list. Each checkpoint has specific items to verify – outlet placement against cabinet drawings, vent hood rough-in height against the actual spec sheet, cabinet door swing direction, drawer alignment, and grout joint sealing. A homeowner who walks each checkpoint with a tape measure and a checklist catches roughly the same problems a good site supervisor catches. The rest get buried in drywall or tile and cost three to five times as much to correct.
Styles & brands we work with
- Kitchen remodeling
- Bathroom remodeling
- Home additions & ADU
- Roofing
- Windows & doors
- Driveway & pavers
- Fence
Table of Contents
- Checkpoint 1: The Post-Demo Inspection
- Checkpoint 2: Rough-In Verification Before Drywall
- Checkpoint 3: Cabinet Delivery Day
- Checkpoint 4: Countertop Template and Fabrication
- Checkpoint 5: The Final Punch List
- Summerlin-Specific Problems: Desert Climate and HOA Rules
- Common Mistakes to Avoid
- When to Call a Professional
Checkpoint 1: The Post-Demo Inspection
Demo day exposes everything the previous remodeling hid. This is the cheapest moment in the whole project to fix structural problems, because the walls are already open and no finish work has started. What you’re looking for are surprises: rot, water damage, out-of-plumb framing, undersized wiring, and subfloor softness. In Summerlin, the specific things we watch for are different from what you’d check in a wetter climate.
Here’s what to inspect once the cabinets and drywall are out:
- Subfloor around the sink and dishwasher. Slow leaks from older appliances rot the subfloor over years. Probe with a screwdriver in a small area. Soft wood means replacement, not patching. Budget for it now – the same repair after tile goes down costs several times as much.
- Framing around window openings. Desert temperature swings from 25 degrees to 110 degrees work on framing. Check that headers over windows and pass-throughs are straight and properly supported. Any bowing means the header needs sistering or replacement before new drywall covers it.
- Existing electrical condition. In Summerlin homes built in the 1990s and early 2000s – the bulk of the housing stock – the kitchen often has a single 20-amp circuit running the microwave, fridge, and countertop outlets together. If you’re adding a 36-inch induction range or a wall oven, that existing circuit is not enough. Now is when you find out, not after the electrician has to crawl through your finished ceiling.
- Plumbing rough-in condition. Copper supply lines and older drain assemblies. Look for pinhole leaks, corrosion at joints, and the age of the shutoff valves. Replace cheap shutoffs while the wall is open.
- Wall cavity insulation. Summerlin’s summer heat loads the exterior kitchen wall hard. If the insulation is thin or missing – common in older construction – add it while the wall is open. It’s the cheapest insulation upgrade you’ll ever do.
The pass/fail standard is simple: if the exposed cavity shows rot, water staining, bowing, or undersized electrical, it goes on a written change order before anything gets covered. Walk the empty room with your contractor and photograph everything before covering. That photo set becomes your record if a hidden problem shows up later.
Checkpoint 2: Rough-In Verification Before Drywall
This is the checkpoint that determines whether your kitchen works for the next twenty years. Rough-in is the phase where electrical, plumbing, and venting are installed inside the open walls before drywall goes up. Once drywall is up and taped, moving an outlet six inches means cutting, patching, re-texturing, and repainting. Moving a vent hood duct means the same plus cutting into the exterior wall.
The single most useful document you have at this moment is your cabinet shop drawing. The shop drawings are the drawings the cabinet manufacturer produces showing every cabinet’s exact dimensions, door swing, and placement. They’re your reference for what the finished kitchen will look like – and every rough-in item should be measured against them, not against the original design drawings. The design drawing is a concept. The shop drawing is the reality.
Here’s the walkthrough, in order:
- Electrical outlet placement. Measure the height of every countertop outlet against the shop drawing. Standard height puts the box center at 42 to 44 inches from the finished floor, but that assumes a standard 36-inch countertop with no backsplash variation. If your backsplash is 4 inches of slab rather than a tile run, the outlet box needs to sit above the slab. Measure against the actual cabinet crown and countertop thickness, not the standard figure.
- Microwave and appliance outlet locations. The outlet for an over-the-range microwave needs to sit inside the cabinet above it, not behind the microwave. Confirm the outlet box’s finished location. A microwave that has to be unplugged by moving the whole unit needs correcting now.
- Vent hood rough-in height. Measure the duct opening against the actual spec sheet for the hood you’re installing. Different manufacturers spec different clearance heights – 24 inches over the cooktop, 30 inches, sometimes 36 inches for high-heat cooking. A duct opening cut to the wrong height means re-cutting through exterior wall after the cabinets are up.
- Under-cabinet lighting wire locations. Under-cabinet lighting is what most homeowners forget to verify. The rough-in for the light should sit at the wall behind the cabinet above, at a height that puts the fixture under the cabinet bottom – typically 3 to 4 inches below the cabinet’s finished bottom line. Any higher and the wire is hidden by the cabinet box and unreachable.
- Plumbing supply and drain locations. The sink supply lines and drain stub-out need to align with the sink base cabinet’s back panel and the actual sink position. Confirm against the shop drawing.
- Gas line or 240V outlet for the range. Whichever the planned range uses needs to be in place and at the correct height and location. A gas range with a 120V igniter needs its own outlet nearby.
Before the drywall crew arrives, photograph every wall cavity with a tape measure in frame. That photographic record makes it easy to find studs and electrical boxes later when you’re hanging cabinet hardware.
Checkpoint 3: Cabinet Delivery Day
Cabinet delivery is where some of the most expensive problems hide, because most homeowners sign off on delivery without opening every box. A damaged cabinet discovered after installation is far more complicated to replace than one flagged on the delivery paperwork. This is the checkpoint that determines whether your cabinets go in clean or whether the installer discovers a problem that delays the whole project.
What delivery-day problems look like:
- Wrong door swing. The most common delivery problem. Your shop drawings specify left-hinge or right-hinge on every cabinet. Check every box against the shop drawing before the installer starts. A wrong-swing cabinet in a corner run means the door won’t open past the adjacent cabinet – the workaround is ugly and expensive.
- Damaged boxes. Cabinets ship wrapped in cardboard and foam. Damage often hides under the wrap. Open every box, unwrap the cabinet, and inspect the box, face frame, and doors for dings, chips, and delamination. Look especially at the bottom corners and back panel – where cabinets take their hits.
- Missing filler pieces. Filler pieces are the strips of matching cabinet material that fill gaps between the cabinet and the wall, at appliance openings, and at corner transitions. Manufacturers sometimes ship these separately, and they’re easy to lose. Confirm the full filler count against the order confirmation before the installer leaves.
- Wrong finish. Warm white drifting toward pure white between two production batches is a real issue with cabinet finishers. If your kitchen has 22 cabinets and 21 arrive in one shade, that last one deserves a look in natural light before installation.
- Missing toe kick material. Toe kicks are the recessed base strips at the bottom of cabinets. Confirm the material matches the cabinet finish and the full lineal footage arrived.
The documentation step matters. Photograph every damaged item before the installer takes it out of the box. Note the model number, the damage, and the date on the delivery paperwork. Any replacement gets ordered from that documentation, and the installer can proceed with everything else while the replacement is in transit – which means the job doesn’t stop for one ding.
Brands like KraftMaid and Wellborn both have clear warranty processes for factory defects and shipping damage, and documented photos are what trigger them quickly. We specify cabinets from both brands on Bradford Remodeling Co Summerlin kitchens specifically because their replacement process is traceable – which matters when a door swing has to be remade and installed to match.
Checkpoint 4: Countertop Template and Fabrication
Countertop errors happen most often at the template stage, before the slab is cut. A template is the physical pattern a fabricator makes on your installed cabinets – usually using thin strips of wood or plastic snapped into the actual cabinet layout. The template captures the real world: the wall isn’t perfectly straight, the cabinets aren’t perfectly level, the sink cutout needs to sit in exactly the right spot over the sink base.
The error that ruins slabs is when the fabricator works from the original design drawing instead of a site template. Design drawings assume square walls and level cabinets. Real kitchen walls run out of square by half an inch and more, and cabinets sit on real floors. If the fabricator cuts from the drawing, the slab arrives with a gap on one end and overhang on the other.
What to verify at template:
- Measurements match site conditions, not the drawing. Check the template against the actual cabinet run with your own tape measure. Verify the countertop depth at the back wall, at the front edge, and at the ends.
- Sink cutout position. The sink cutout should center on the sink base cabinet. On an under-mount sink, the cutout also has to allow for the sink’s reveal (the exposed rim of the sink around the cutout). The template should mark the cutout against the actual sink position and the faucet holes.
- Cooktop cutout in a gas or induction range. If your cooktop is a drop-in, the cutout needs to be right for the specific model. Cooktop manufacturers publish a cutout specification; verify the template matches it, not a rounded measurement.
- Overhang depth. Standard countertop overhang is 1 to 1.5 inches over the cabinet box. Verify the template at the ends and along the front edge.
- Seam placement. If your countertop has a seam – usually only on stone surfaces longer than about 9 feet – confirm the seam location matches your spec and sits away from the sink and cooktop wherever possible.
Cambria and Caesarstone surfaces are fabricated by authorized fabricators, and the template stage is the last moment to correct errors before cutting. Once the slab is cut, the correction is a whole new slab. On a Summerlin kitchen with a 10-foot island in quartz, that’s a real number.
Checkpoint 5: The Final Punch List
The final punch list catches the small things – but the small things that get missed most often are the ones that show up every day for the next ten years. This is the walkthrough at job close where you verify the finished kitchen against the scope. Here’s what gets missed.
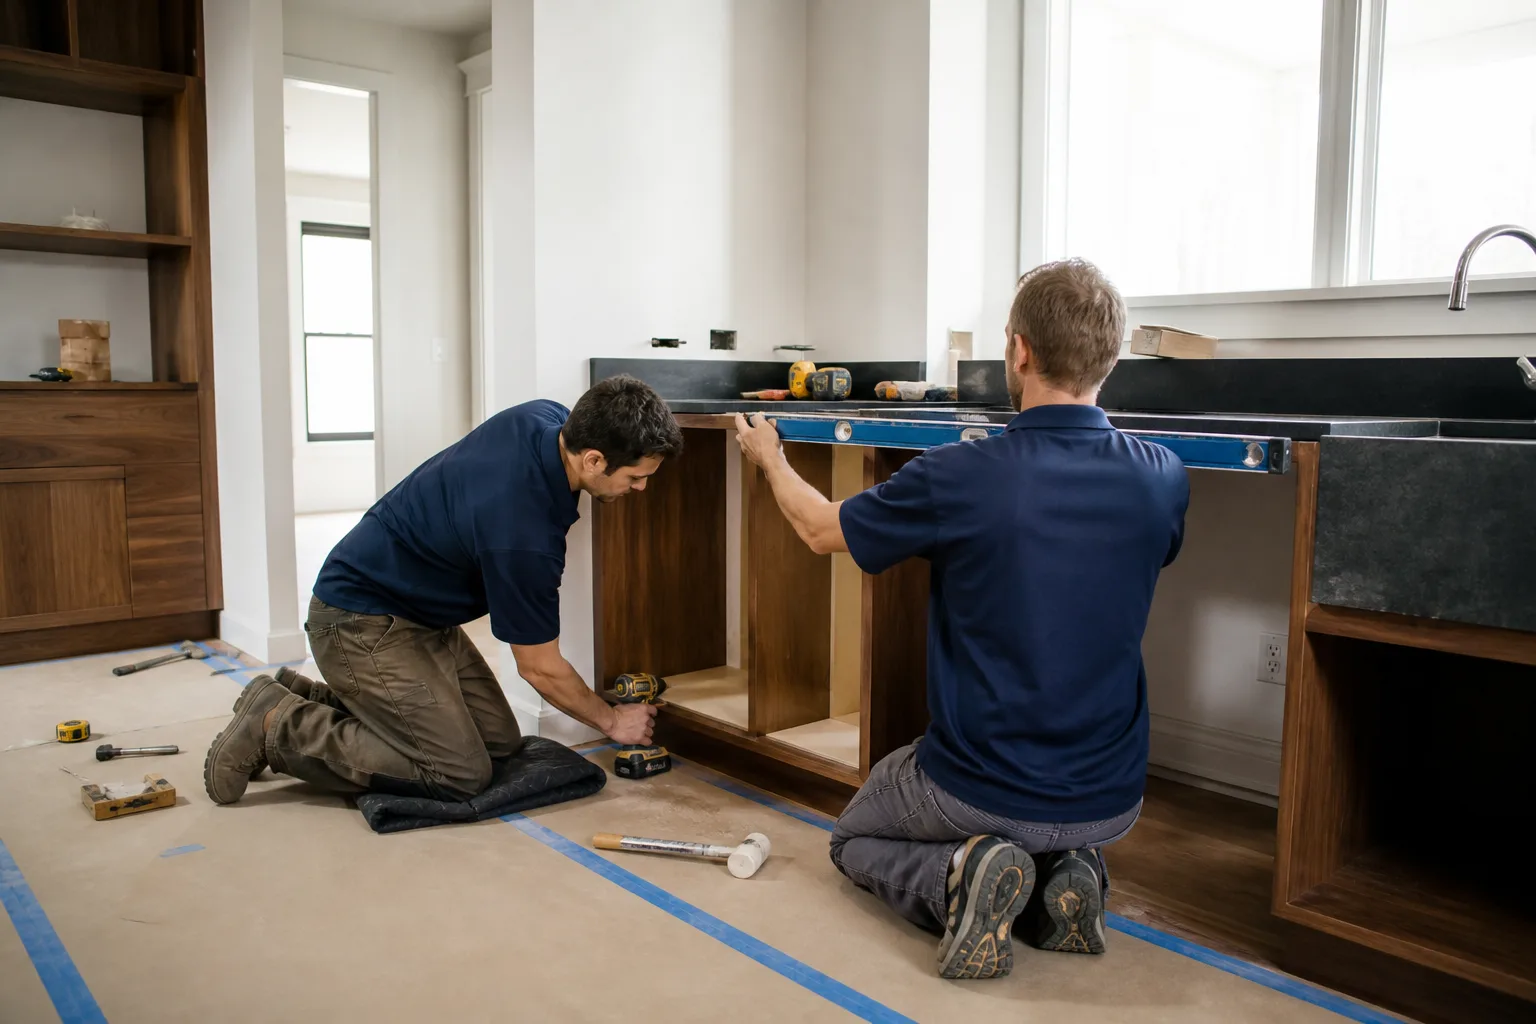
- Drawer alignment. Every drawer front should sit flush with the adjacent drawer, at the same reveal line. Check every drawer in every cabinet, opened and closed. A drawer front milled a few thousandths off will look right by itself but crooked next to its neighbor.
- Toe kick gaps. The toe kick material sits at the bottom of the base cabinets. Check for gaps at joints, uneven heights, and areas where it’s coming unclipped. Toe kicks are the most common callback item after a kitchen install because the installer runs out of material and doesn’t return.
- Appliance leveling. The range, refrigerator, and dishwasher should all sit level front to back and left to right. A range sitting slightly off-level pulls the door open on its own – a small thing that drives homeowners crazy. Verify with a spirit level for the range; verify the refrigerator sits level and its doors close evenly.
- Grout joint sealing. Every tile and backsplash joint exposed to water needs sealing – typically backsplash perimeter, backsplash-to-countertop joint, and any tile around the sink or under the window. Summerlin’s dry climate means grout cures fast, and if it isn’t sealed at job close, it absorbs water quickly and needs sealing within a year.
- Caulk lines and paint touch-ups. The final walkthrough is your moment to catch what the crew left. Confirm paint touch-ups at outlet covers, cabinet edges, and wall corners; caulk lines at trim and backsplash; and any small hardware items – cabinet pulls, drawer glides, appliance handles.
- Documentation handoff. Every completed kitchen should end with warranty documents, appliance manuals, and the written guarantee in the homeowner’s hand.
For kitchens specified with Kohler and Moen fixtures, both companies publish warranty registration steps that homeowners can complete after job close. Don’t skip this – registration is what allows a replacement cartridge or a faucet issue to be handled quickly.
For kitchens where the exterior door or window is part of the scope – Therma-Tru entry doors and ECO Window Systems windows are two we specify regularly in Summerlin kitchens – the punch list extends to door and window operation, weatherstripping, and exterior sealant.
Summerlin-Specific Problems: Desert Climate and HOA Rules
Summerlin kitchens run into two kinds of problems that homeowners in other climates don’t face: desert-climate conditions and HOA requirements.
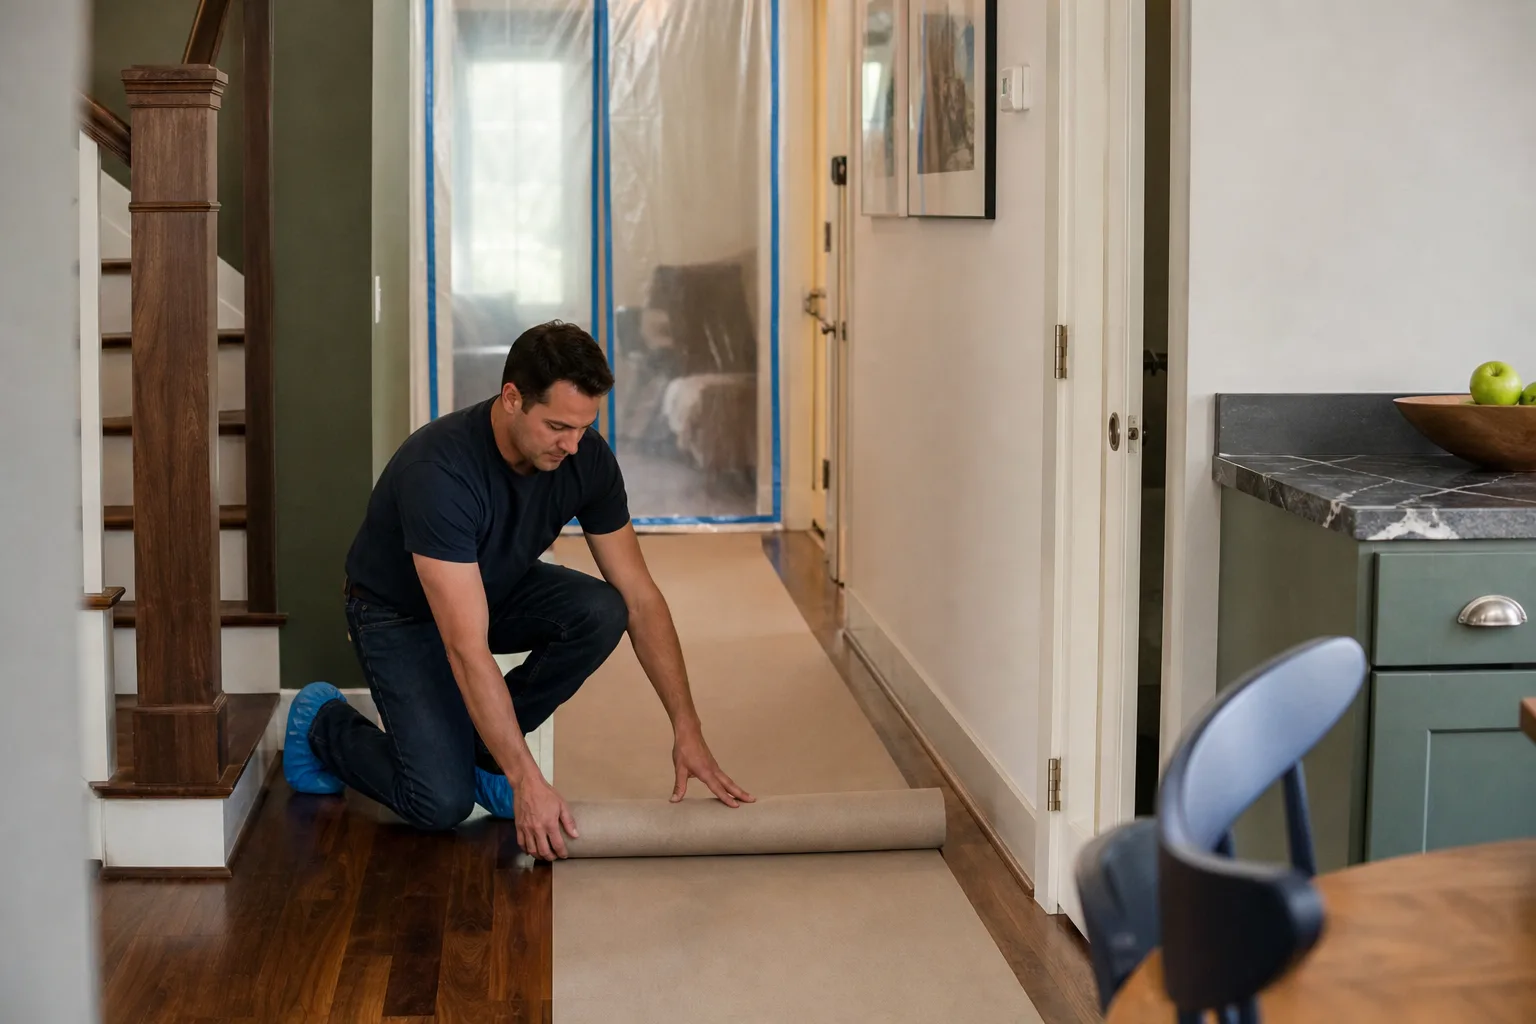
Dust and drying. Kitchen demos in Summerlin kick up desert dust that settles into every open wall cavity and cabinet interior. If the site isn’t sealed properly – plastic barriers at the kitchen doorway, HVAC return covered, floor protection taped at every edge – that dust works its way into the HVAC system and finishes with the texture. It also dries out caulk and low-VOC paint faster than in humid climates, so sealing and paint work has to be done in the right order with the right products. Low-VOC paints that assume a certain humidity level need reformulation for a 10 percent humidity day.
Ventilation and hood ducting. Summerlin’s summer heat means kitchens run the AC more than most climates. A kitchen with insufficient vent hood ducting – undersized duct, too many elbows, or a duct run that exits directly into an exterior wall before it can vent properly – pulls hot attic air back into the home instead of venting it. Confirm the vent hood duct size against the hood’s spec and confirm the duct runs straight out through an exterior wall, not through an attic.
Summerlin HOA approvals. Many Summerlin communities require HOA approval for exterior changes – window replacements, exterior door replacements, anything visible from the street. If your kitchen remodel includes a new sliding glass door or a new kitchen window facing the backyard, confirm HOA approval before the door or window goes in. Getting the approval after is expensive. Getting it before is a form.
Concrete and tile substrate. Summerlin’s slab-on-grade construction means the kitchen floor is typically direct-set over slab. If the previous tile was thinset directly to the slab, removing it leaves a surface that needs proper prep before new large-format tile goes down. Confirming the substrate prep is part of the post-demo inspection.
We’ve worked kitchens in Summerlin neighborhoods from The Ridges to Redpoint to Summerlin West, and the pattern is consistent: kitchens designed with the climate’s realities in mind go smoothly; ones designed assuming a coastal or eastern template hit problems mid-job. Our crews are on site in Summerlin regularly enough to catch the specific patterns before they become problems. See our Kitchen Remodeling in Sandy Valley service for the same process applied to neighboring communities.
Common Mistakes to Avoid
- Skipping the post-demo inspection. Homeowners who trust the demo crew and skip the walkthrough miss hidden water damage and undersized wiring that surfaces mid-install. Walk the empty room with your contractor and inspect before drywall.
- Trusting the original design drawing over the shop drawing. Design drawings are concepts. Cabinet shop drawings are reality. Every rough-in measurement should be checked against the shop drawing, not the design.
- Not opening every cabinet box on delivery day. Damage hides under the cardboard wrap. Open every box, unwrap every cabinet, and photograph damage. After the installer leaves, that documentation window closes.
- Approving a countertop template without a site measurement. Templates cut from the design drawing create a slab that doesn’t fit your real walls. Verify template measurements against the actual installed cabinets.
- Ignoring HOA approvals for Summerlin kitchen windows and exterior doors. A kitchen window or door replacement in a Summerlin HOA community needs approval before installation, not after. Getting approval is a form; getting an installed window reversed is not.
- Assuming the desert air will handle the drying. Summerlin’s dry climate dries joint compound, caulk, and grout faster than standard schedules assume. Skipping proper drying between coats leaves cracking and adhesion failures behind.
- Accepting a punch list that’s mostly verbal. The final walkthrough items need to be written down with the corrector identified. A verbal promise to “come back” doesn’t hold up when you need the return visit.
When to Call a Professional
Call a professional when you find rot in the subfloor, undersized electrical wiring in the exposed wall, out-of-plumb framing behind the old cabinets, or a rough-in issue that needs correction before drywall closes. These aren’t DIY corrections – they touch structure, electrical, and plumbing, and the correction has to pass inspection. If you’re a homeowner midway through a self-managed kitchen remodel in Summerlin and you’ve reached the rough-in walkthrough without a clear checklist, call us before the drywall crew arrives. That call is worth more than any correction cost after the walls are closed.
If you’ve inherited a kitchen remodel from a contractor who stopped showing up, or if your current contractor’s numbers keep moving between the bid and the walkthrough, that’s what The Garrison Standard exists to prevent. Bradford Remodeling Co Summerlin gives you a written price before any tool comes out, background-checked and uniformed technicians on every job, and a 365-Day Done Right Promise – if anything we did fails within a year, we come back and correct it at no charge. Live-person phone coverage, 24 hours a day, seven days a week. Call (844) 588-0072 for a free estimate in Summerlin.
See the difference
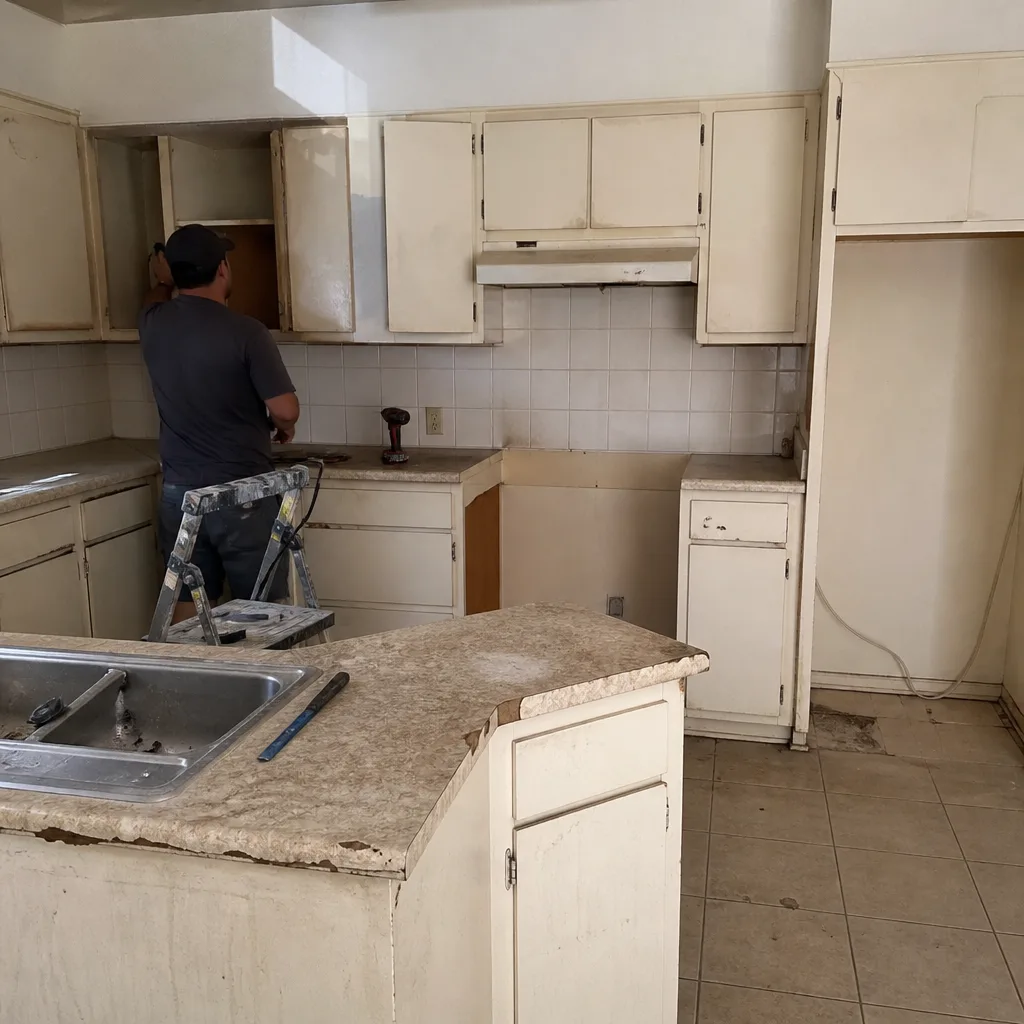 Before
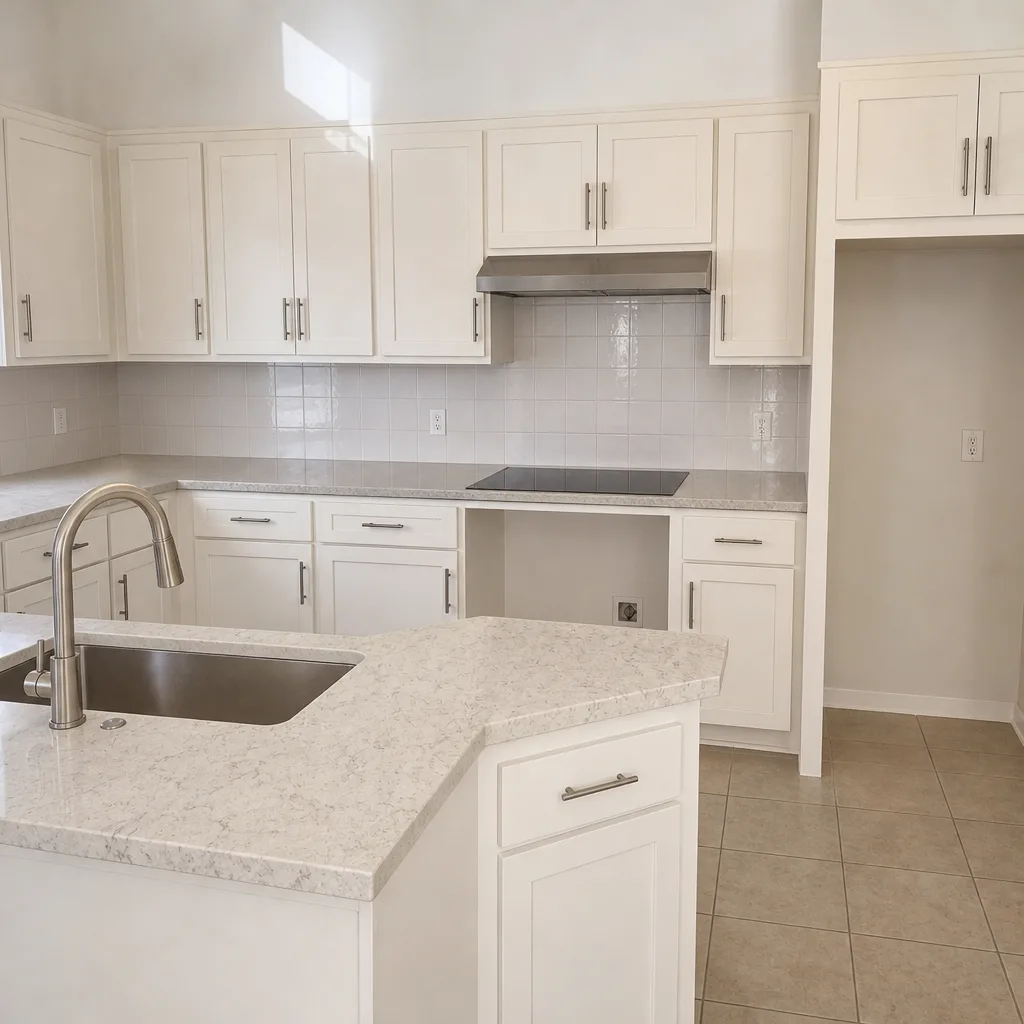 After
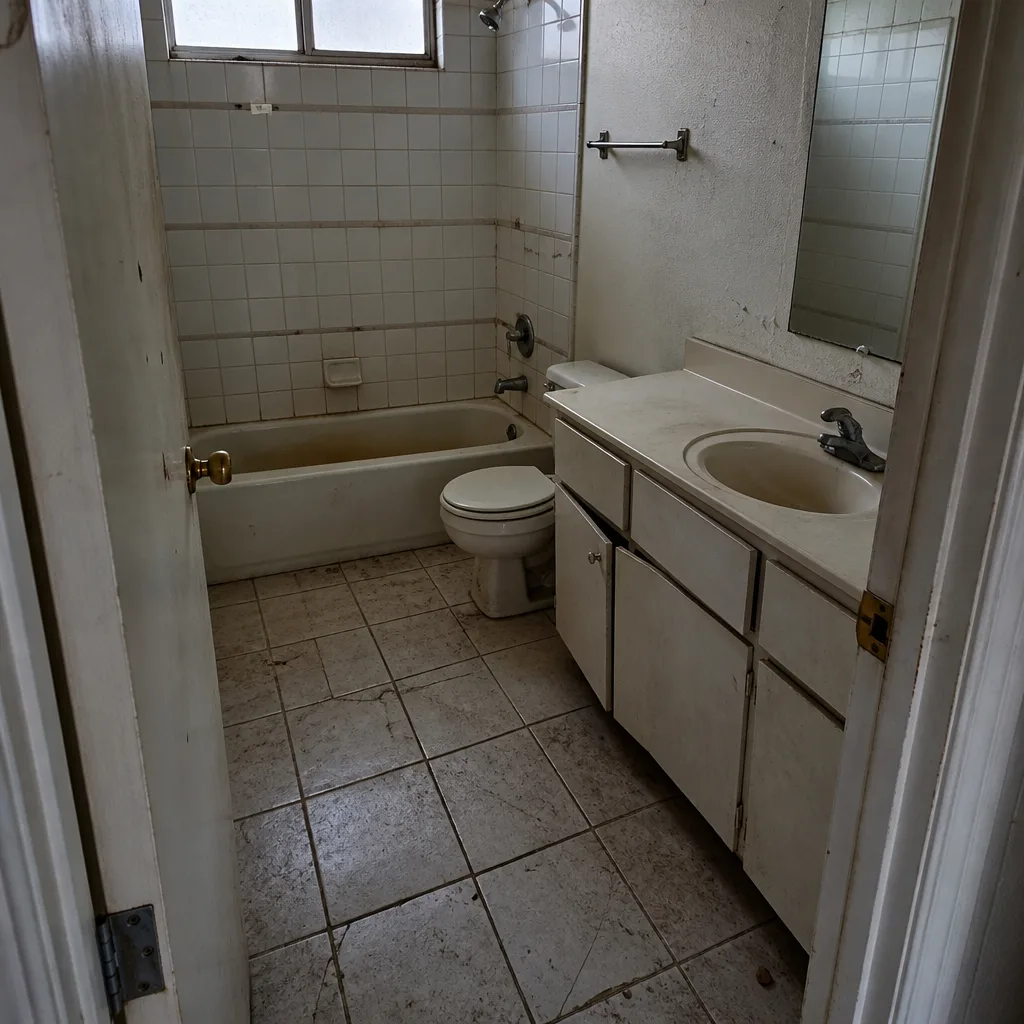 Before
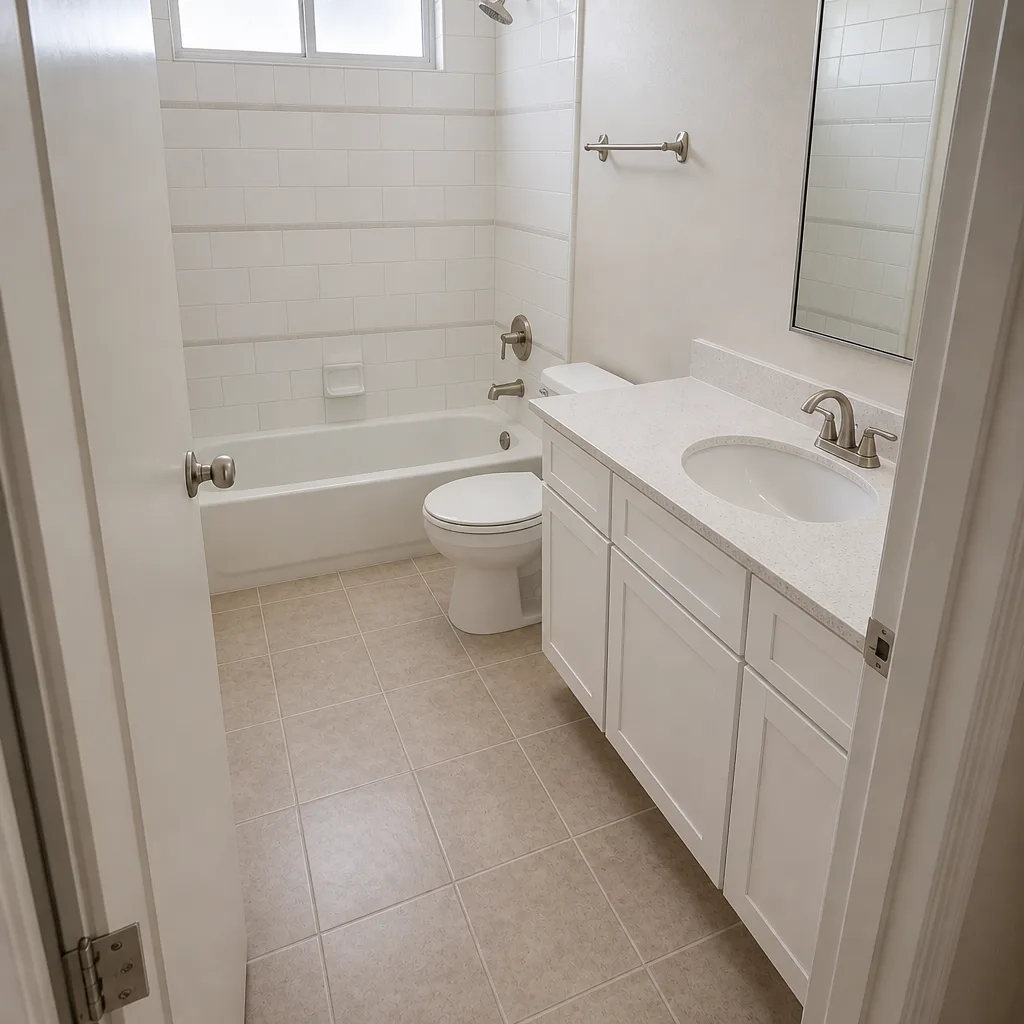 After
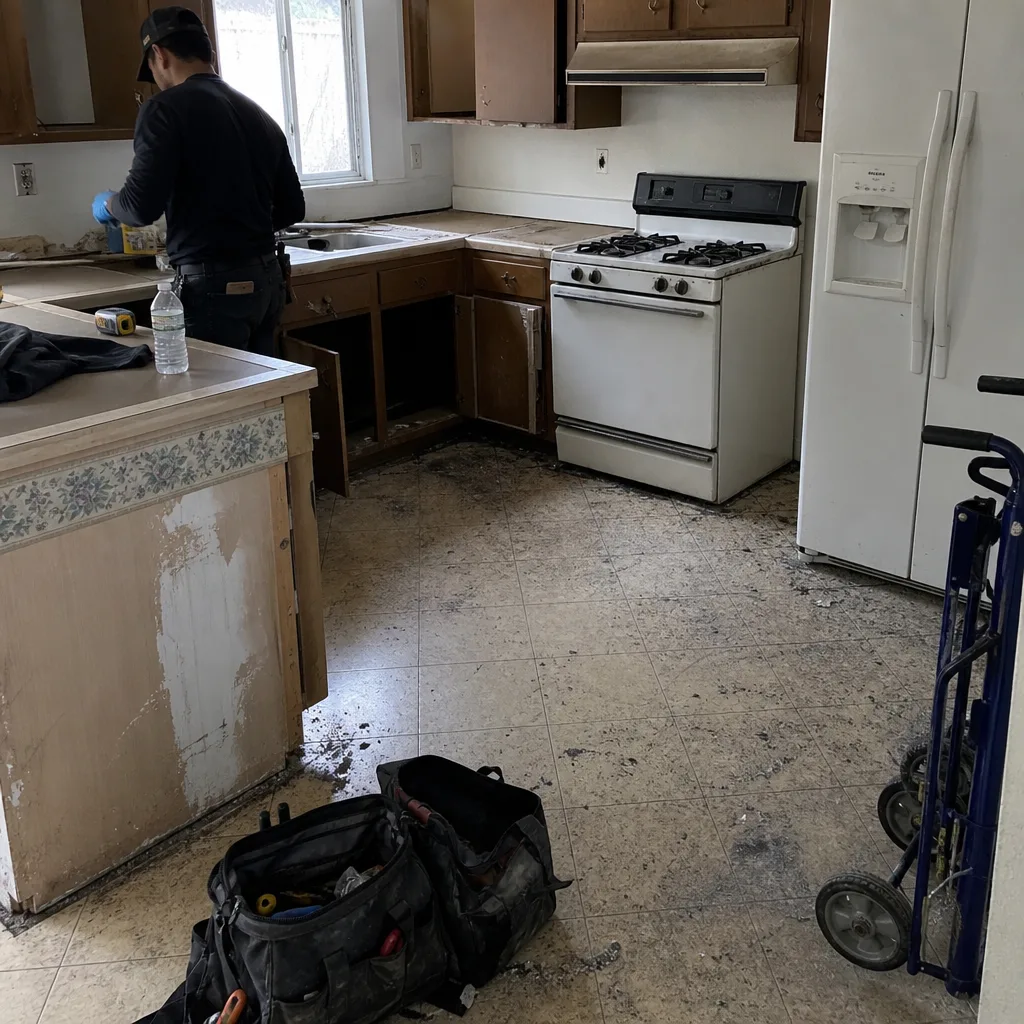 Before
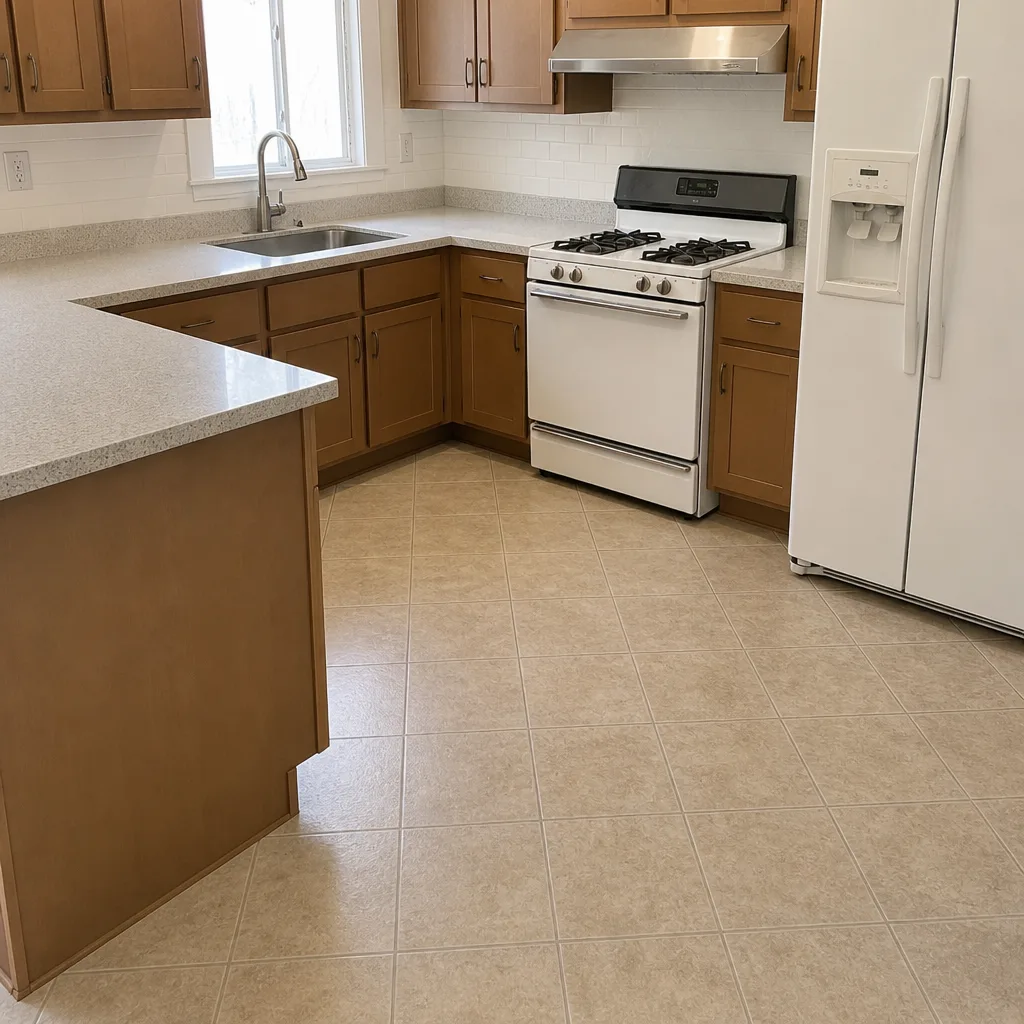 After
Frequently Asked Questions
The most common problem we see in Summerlin kitchens is rough-in electrical placement that doesn’t match the finished cabinet layout. Outlets end up behind microwaves, under-cabinet lighting wire ends up hidden by the cabinet box, and the vent hood duct opening is cut to the wrong height. All three are cheap to correct during rough-in and expensive to correct after drywall. Call (844) 588-0072 for a free estimate and we’ll walk the rough-in with you.
Correcting a rough-in mistake after drywall installs typically costs $400 to $1,500 depending on the item. Moving one outlet means cutting drywall, relocating the box, patching, re-texturing, and repainting – usually $400 to $700. Moving a vent hood duct opening after the exterior wall is finished runs $800 to $1,500 because the exterior wall has to be re-cut and re-sealed. The comparison matters: the same corrections done at rough-in cost almost nothing. Call (844) 588-0072 for an exact quote on your Summerlin kitchen – estimates are free.
At Bradford Remodeling Co Summerlin, the price on your signed estimate is the price you pay. We use a written price before any work starts, with a documented scope. If you ask for a scope change mid-project – a different range, a different countertop, an added outlet – that change gets its own written price before we start it. You’ll never see a number at the door that wasn’t on the paperwork.
Yes. Kitchen remodels that touch electrical, plumbing, gas, or structural elements require permits in Summerlin and the surrounding Clark County jurisdiction. We pull the permits on every project that requires them, schedule the inspections, and give you copies of everything. Rough-in inspection is a mandatory checkpoint – our process treats it as a milestone, not a formality.
A typical Summerlin kitchen remodel runs 6 to 10 weeks from demo to final punch, depending on the scope. The demolition and rough-in phase takes about 2 weeks, inspection and drywall another 2 weeks, cabinet and countertop fabrication and install 2 to 4 weeks, and final punch and appliance connection about 1 week. Custom cabinetry extends the timeline. We give you a written schedule with your written price, and we don’t leave the site unfinished.
The 365-Day Done Right Promise covers every completed Bradford Remodeling Co Summerlin project for one full year from job close. If any work we installed fails within that 12-month window – grout pulls out, a cabinet hinge works loose, a tile pops, a fixture cartridge fails – we come back and correct it at no charge. It’s a written guarantee, part of The Garrison Standard, and it’s in your hand at close. Call (844) 588-0072 for a free estimate and we’ll put the guarantee in writing before any tool comes out.
The Bottom Line
Kitchen remodel problems cluster at four predictable checkpoints, and each one has pass/fail criteria you can verify with a tape measure and a checklist. After demo: subfloor, framing, electrical capacity, and plumbing condition. Before drywall: every outlet, vent duct, and lighting wire measured against the shop drawing. At cabinet delivery: open every box and document every issue. At template: verify site measurements against the actual installed cabinets. At final punch: drawers, toe kicks, appliance leveling, and grout sealing. A homeowner who walks all four checkpoints catches most problems while they’re cheap to fix. Our technicians have up to 22 years of experience running these checkpoints on Summerlin kitchens, and our process is built around them. If you want a kitchen remodel that runs on written scope, written price, and a written guarantee, we’re the crew.
Bradford Remodeling Co Summerlin works from the Bradford Remodeling Co Summerlin home directory as part of the Garrison Partners family, established in 2004 – each location independently owned and operated and held to The Garrison Standard. For whole-home scopes beyond the kitchen, our General Contractor in Sandy Valley service covers the same process for major renovations, and our Bathroom Remodeling in Sandy Valley service applies the identical rough-in checkpoints to bathroom projects.
Every kitchen we touch is backed by the 365-Day Done Right Promise, premium documented materials – KraftMaid, Wellborn, Cambria, Caesarstone, Kohler, Moen, Therma-Tru, ECO Window Systems, and others on our approved brand roster – and background-checked, uniformed technicians on every job. Free estimates in Summerlin. Written price before any work starts. A live person answers the phone when you call. Call (844) 588-0072 to schedule your free estimate.
Written by the team at Bradford Remodeling Co Summerlin.