
Last updated November 17, 2026








Free written scope consultation - allowances, timeline, and change-order rules on paper before a single trade is scheduled
Bathroom Remodeling Maintenance Schedule: What to Do and When
Here’s the number that catches most homeowners off guard: the silicone caulk sealing your tub and shower perimeter has a functional lifespan of three to five years. Not because the installer did anything wrong. Silicone simply degrades under constant wet-dry cycling, and in Summerlin’s dry indoor air it cures hard and pulls away from the tile edge faster than most people expect. The catch is that caulk almost always fails silently. By the time you notice water tracking behind the tile, grout or substrate has usually already taken on moisture. This guide is the calendar we hand homeowners after a Bathroom Remodeling in Sandy Valley project wraps: a month-by-month and year-by-year rhythm based on the actual materials in the room, not on waiting for something to look wrong.
Quick Answer
Bathroom maintenance follows a material-driven schedule: inspect and reseal grout every 6-12 months depending on grout type, replace silicone caulk at wet joints every 3-5 years, deep-clean or descale shower fixtures monthly in hard-water areas, and exercise your shut-off valves annually. A calendar-based approach, rather than a symptom-based one, is what keeps a finish holding for 15 years instead of three.
Styles & brands we work with
- Kitchen remodeling
- Bathroom remodeling
- Home additions & ADU
- Roofing
- Windows & doors
- Driveway & pavers
- Fence
Table of Contents
- Why Bathroom Maintenance Is a Schedule, Not a Symptom
- The Month-by-Month Bathroom Maintenance Calendar
- Grout Sealer Intervals by Grout Type (And the Tile Test)
- Las Vegas Hard Water: Descale Intervals and Finish-Safe Products
- Caulk and Wet-Joint Replacement: The 3-5 Year Rule
- The Annual Shut-Off Valve Exercise Protocol
- Exhaust Fan, Showerhead, and Aerator Service
- Warranty-Voiding vs. Advisory Tasks
Why Bathroom Maintenance Is a Schedule, Not a Symptom
Most homeowners maintain a bathroom reactively. Something looks bad, so it gets fixed. That works until it doesn’t, and the gap between “looks fine” and “already failing” is where the expensive damage lives. We’ve walked into Summerlin bathrooms where the finish on the tile looked intact but the shower pan had been taking on water for two seasons through a failed caulk joint. Re-grouting and re-caulking runs a little; a rotted substrate and a new shower pan runs into the thousands.
The desert climate changes the rhythm. Summerlin’s low indoor humidity and wide seasonal swings dry out caulk and grout quickly, which sounds helpful but actually accelerates the cracking and shrinking that let water in. At the same time, the mineral-heavy water that scales up your shower fixtures and glass – southern Nevada water runs hard, and it shows – means descaling has to happen more often than it would in a wetter, softer-water climate.
So the schedule is driven by two things specific to this valley: dry outdoor air that hardens sealants, and hard water that deposits minerals. Neither is something a homeowner can eyeball. Both reward a calendar.
What “squared away” looks like monthly, in plain terms: every wet joint sealed and intact, every fixture descaled, every valve still working. When we close out a project, the homeowner walks away with a documented scope, a clean site, and a written guarantee in hand. The maintenance schedule is the same discipline applied after the job ends – because the 365-Day Done Right Promise covers the work for a full year, and proper care is part of making that finish last well past it.
The Month-by-Month Bathroom Maintenance Calendar
Build the routine around the calendar, not around what looks dirty. Here’s the monthly rhythm for a bathroom with standard ceramic or porcelain tile, a silicone-caulked shower, and chrome or PVD-finish fixtures. Adjust the descaling frequency upward if you have very hard water or a whole-house softener that’s overdue for a recharge.
Every Month
- Descale showerhead and aerator per the hard-water guidance below.
- Wipe down the shower glass and squeegee after each use to cut mineral film buildup.
- Check that the exhaust fan actually moves air – hold a tissue to the grille; if it doesn’t pull the tissue flush, it’s not clearing moisture.
Every Three Months
- Inspect every caulk joint at the tub, shower, sink, and floor line for pulling, darkening, or gaps at the edges.
- Run a finger along the grout in the shower and around the tub; any crumbling or missing grout needs attention before the next wet season.
- Clean the exhaust fan grille and check for dust buildup on the housing.
Every Six to Twelve Months
- Test the shower valve and fixtures for smooth temperature control; a valve that hesitates or sticks is signaling mineral buildup.
- Reapply grout sealer per the grout-type intervals in the next section.
- Check for any soft spots, discoloration, or loose tile that suggest moisture behind the finish.
Once a Year
- Run the full shut-off valve exercise protocol (below).
- Inspect the toilet for a running fill valve and the supply line for mineral staining.
- Look at the ceiling below an upstairs bathroom for any watermark – early detection beats a call to a drywall contractor.
We give homeowners a printed calendar card at the end of a Summerlin bathroom project so nothing falls through the cracks. If you want a bathroom built with this maintenance rhythm already in mind, our Bradford Remodeling Co Summerlin home page explains how we approach the whole-home side of the same work.
Grout Sealer Intervals by Grout Type (And the Tile Test)
Grout sealer is not a permanent coating. It wears off where water pools – the shower floor, the tub surround, the lower walls. The reapplication interval depends on which grout you have, and most homeowners don’t know.
- Cementitious sanded grout (the wide joints, floor tile, and shower pan): reseal every 12 months, and every 6 months in the shower.
- Cementitious unsanded grout (narrow joints, wall tile, glass or marble tile): reseal every 12-18 months. This grout is more porous in narrow joints and needs care.
- Epoxy grout (a two-part resin, non-porous, common in new premium bathroom installs): essentially does not need resealing in a residential bathroom. Wipe it down and move on. Some epoxy products must not be sealed at all – check the manufacturer’s spec.
The Tile Test
- Drip a few drops of water on a grout line in the shower – an area you know gets wet.
- Watch it for two to three minutes. If the water beads on the surface, the sealer is holding.
- If the water darkens the grout and disappears, the grout has absorbed it and the sealer has worn off. Time to reseal.
Run this test in a dry spot too. Grout that absorbs water in the shower and also absorbs it in the dry areas is overdue anyway. We test a new install’s grout at handoff so the homeowner knows the baseline.
Las Vegas Hard Water: Descale Intervals and Finish-Safe Products
Southern Nevada water is among the hardest in the country – calcium and magnesium deposits show up fast on showerheads, glass, and faucet aerators. Where a soft-water homeowner might descale quarterly, a Summerlin bathroom needs it monthly. Skip it and the mineral film hardens into a scale that pits finishes and clogs aerators.
Finish matters as much as frequency. Here’s what’s safe on what:
- Chrome: Wipe with white vinegar on a soft cloth. Chrome tolerates mild acid; don’t leave vinegar sitting on it, and rinse after.
- Matte black and oil-rubbed bronze: Use a soft soap solution, not vinegar or any acidic cleaner. Acid etches these finishes. Matte black especially will show every droplet and every scratch.
- PVD finishes (the durable physical vapor deposition coating on many Kohler and Moen fixtures): warm water and mild soap, soft cloth. Avoid abrasive pads, steel wool, and chlorine-heavy cleaners. PVD holds up well but abrasives will dull it.
- Glass shower enclosures: a squeegee after every shower does more than any cleaner. For existing scale, a dedicated mineral-dissolving cleaner made for glass is safer than scrubbing with vinegar and a scour pad.
The descaling rhythm in a Summerlin home: showerhead and aerators monthly, glass weekly squeegee plus a deep clean monthly, and a fixture inspection each quarter for early scale. A whole-house water softener changes the math – with one, you can stretch descaling to every six to eight weeks, though you’ll want to keep the softener itself serviced on schedule.
Caulk and Wet-Joint Replacement: The 3-5 Year Rule
Silicone caulk at tub and shower perimeters is the highest-risk wear item in the room. Even a flawless installation will start to lose its grip within three to five years – in Summerlin’s dry air, the curing-and-shrinking cycle can pull it loose on the shorter end of that window. Most homeowners replace it only after water has already migrated behind the tile. The rule is to replace it on schedule, not in response to a stain.
What to look for during your quarterly inspection:
- Caulk that feels hard or brittle, not rubbery.
- Any gap or shadow line between caulk and tile or tub edge.
- Discoloration that doesn’t scrub off (mildew growing in the joint, not on it).
- Caulk that pulls away when you press on it.
Two other wet joints deserve the same treatment: the joint where the shower floor meets the wall, and the joint at the floor-to-wall transition if there’s a baseboard or tile edge there. Replacement is a careful job: the old caulk has to be fully cut out, the joint cleaned and dried completely, and the new silicone laid in a single continuous bead so there’s no seam for water to find. That’s not a job to rush with a tube from the hardware store on a Sunday afternoon.
The Annual Shut-Off Valve Exercise Protocol
This is the maintenance task almost nobody does, and the one that decides whether you have a small mess or a major water event. A shut-off valve that hasn’t turned in ten years will often fail – stiff, seized, or weeping – at the exact moment you need to use it. Exercising it yearly keeps it functional.
- Locate every shut-off valve in the bathroom: the two under the sink (hot and cold), the two behind the toilet, and any valve on the shower riser or supply line.
- With the water off at the fixture, turn each handle a quarter turn in each direction, slowly. You’re checking that the valve moves smoothly, not draining anything.
- Check for weeping at the valve stem or packing after each turn. A single drop is fine; a drip that doesn’t stop needs attention.
- Turn the valve fully to the closed position, then back to fully open, and check for drips again.
- For the main house shut-off, verify its location and tag it – nobody should be searching for it during a leak.
If a valve feels stiff or stuck, don’t force it. A seized gate valve or a broken quarter-turn valve under pressure is a plumber’s problem, not a homeowner-with-a-wrench problem. This is one place where calling a professional early saves a flooded floor.
Exhaust Fan, Showerhead, and Aerator Service
The exhaust fan is the quietest failure in any bathroom. A fan that’s still running but no longer moving air lets moisture build up on every surface, which accelerates caulk failure, grout wear, and mold. Check it every quarter with the tissue test: hold a tissue to the grille and confirm it pulls flush. If it doesn’t, the fan is either clogged or underpowered.
Service the fan by cutting power at the breaker, then removing and washing the grille, and checking for dust on the housing and blade. In Summerlin, where the outdoor air is dry but indoor humidity still climbs during a hot shower, a functioning fan is what carries that moisture out before it settles into the caulk and grout.
Showerhead and aerator service runs on the hard-water rhythm above. Unscrew the showerhead, soak it in a mild descaler or vinegar solution (finish permitting), and rinse. Do the same with the faucet aerator, which unscrews from the spout and should be rinsed monthly. Replace any aerator screen that’s clogged or torn rather than picking at it. When the showerhead screen is clogged beyond rinsing, replace the showerhead – that’s a small cost that restores pressure and stops the mineral drip that stains the pan.
Warranty-Voiding vs. Advisory Tasks
Not every maintenance task carries the same weight. Some are advisory – skip them and the finish ages faster. Others, if skipped, can void a material or workmanship warranty when a failure shows up. Know which is which before you decide what to defer.
Typically warranty-sensitive (document these):
- Resealing grout per the manufacturer’s interval – some tile and grout products specify a reseal schedule to keep the product warranty valid.
- Maintaining proper ventilation – a manufacturer of tile, grout, or sealant may deny a claim if moisture damage traces to a non-functioning fan.
- Using the wrong cleaner on a finished fixture – acid on matte black or an abrasive on PVD can void a fixture finish warranty.
- Sealing or not sealing a surface against the product’s instructions (some epoxy grouts specify no sealing).
Advisory: squeegeeing glass, descaling on a slightly longer interval, dusting the fan grille, and checking for loose tile. These matter for appearance and longevity, but they don’t usually carry a warranty consequence.
Our 365-Day Done Right Promise runs for a full year from completion, and it’s in writing – if the work fails inside that window, we come back and correct it at no charge. The guarantee is the backstop; the calendar is what keeps a finish out of trouble in the first place. Materials we install, including Kohler, Moen, and Cambria surfaces, have their own manufacturer specs and warranties, and those documents reach the homeowner at closeout alongside our own. That’s the point of a written price, a written scope, and a written guarantee: the homeowner can trace what’s covered and for how long. If you’re planning a full bathroom or whole-home remodel in Summerlin, our General Contractor in Sandy Valley page shows how the same disciplined approach works on larger scopes.
Common Mistakes to Avoid
- Replacing caulk only after you see a stain. By then water has already been behind the tile for a season; schedule the replacement every 3-5 years regardless.
- Using acidic cleaners on matte black or PVD fixtures. Vinegar and mineral-dissolving products etch these finishes permanently; use soap and water for them.
- Sealing epoxy grout. Some epoxy products reject sealant and the manufacturer may treat it as a misuse; check the spec before you seal anything.
- Never turning the shut-off valves. A valve that hasn’t moved in a decade often seizes and fails when you finally need it during a leak.
- Ignoring a fan that runs but doesn’t move air. It’s the moisture buildup that erodes caulk and grout, and the fan is the cheapest fix in the room.
- Descaling on a soft-water schedule in Summerlin. Southern Nevada’s water is hard enough that monthly descaling of showerheads and aerators is the right cadence, not quarterly.
- Forcing a stiff valve. That turns a small maintenance task into a flooded floor; leave seized valves to a professional.
See the difference
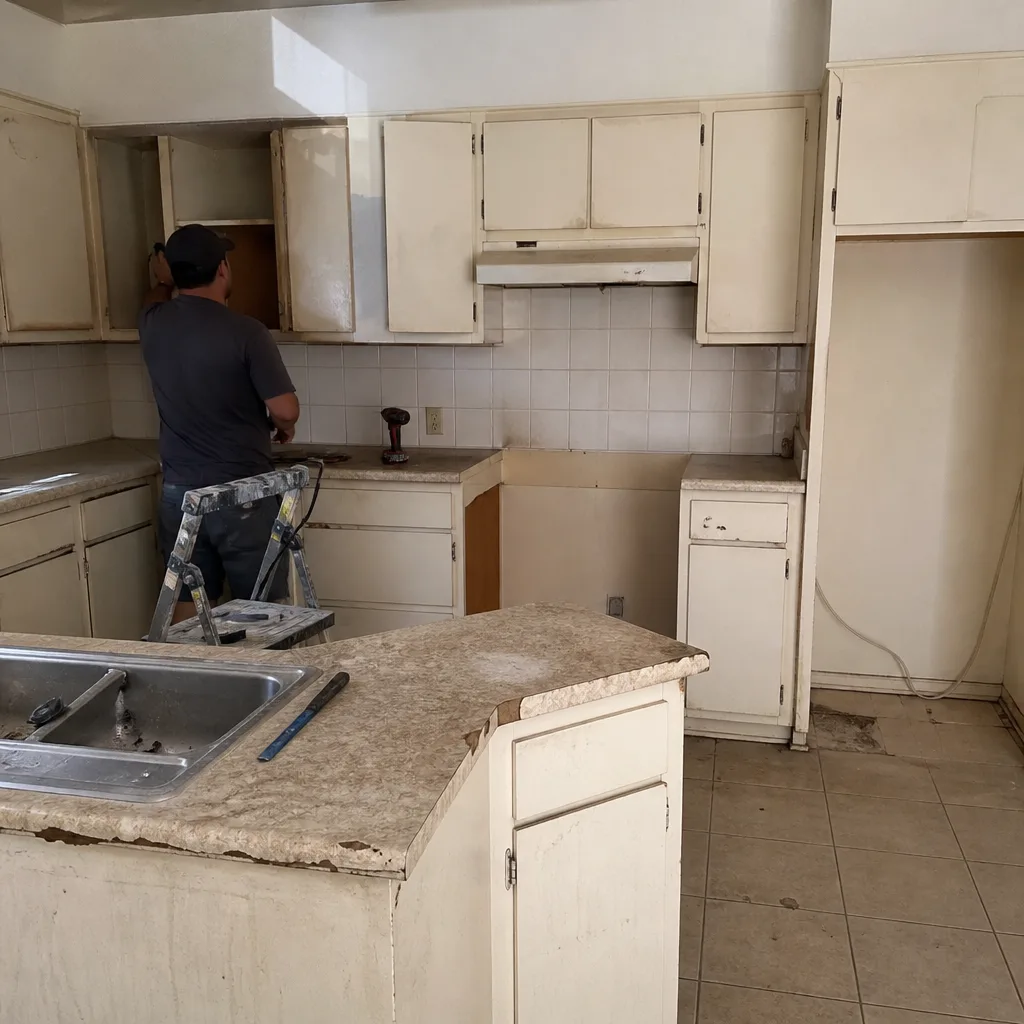 Before
 After
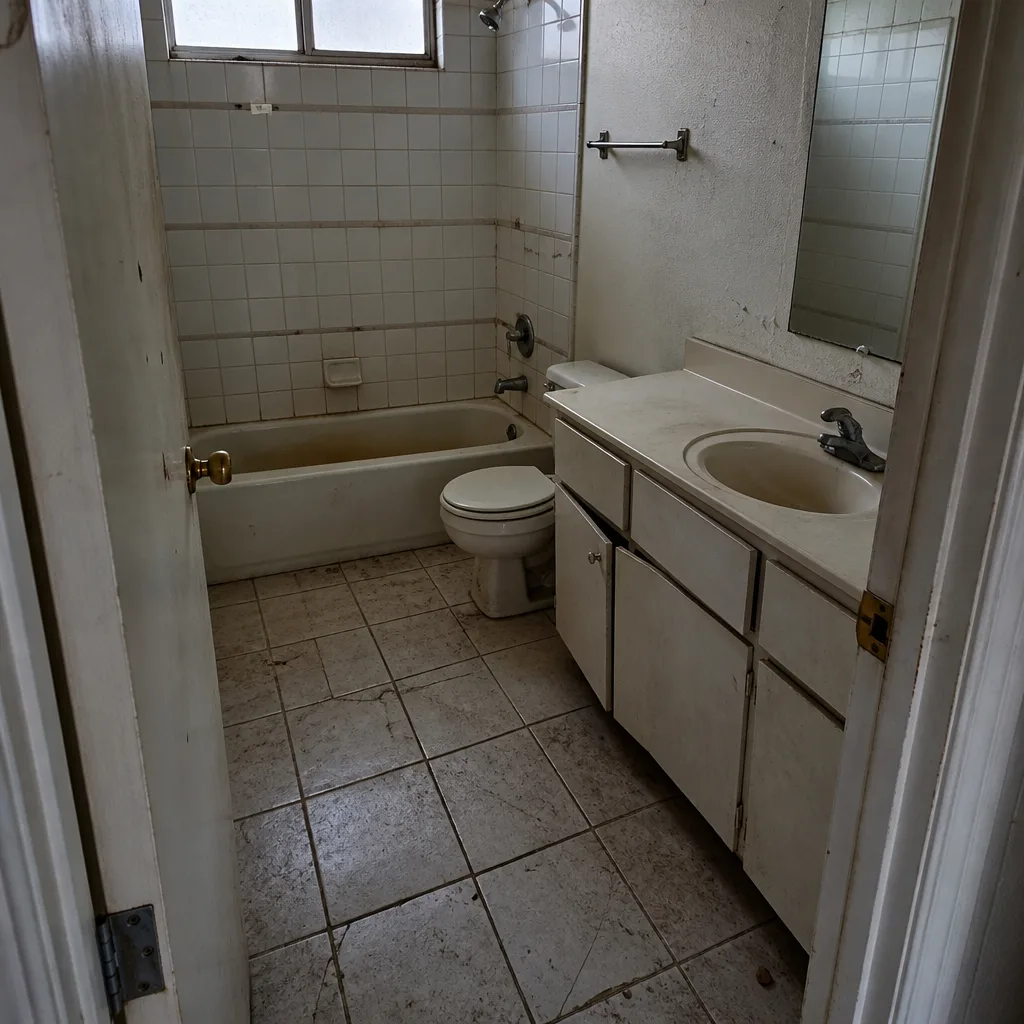 Before
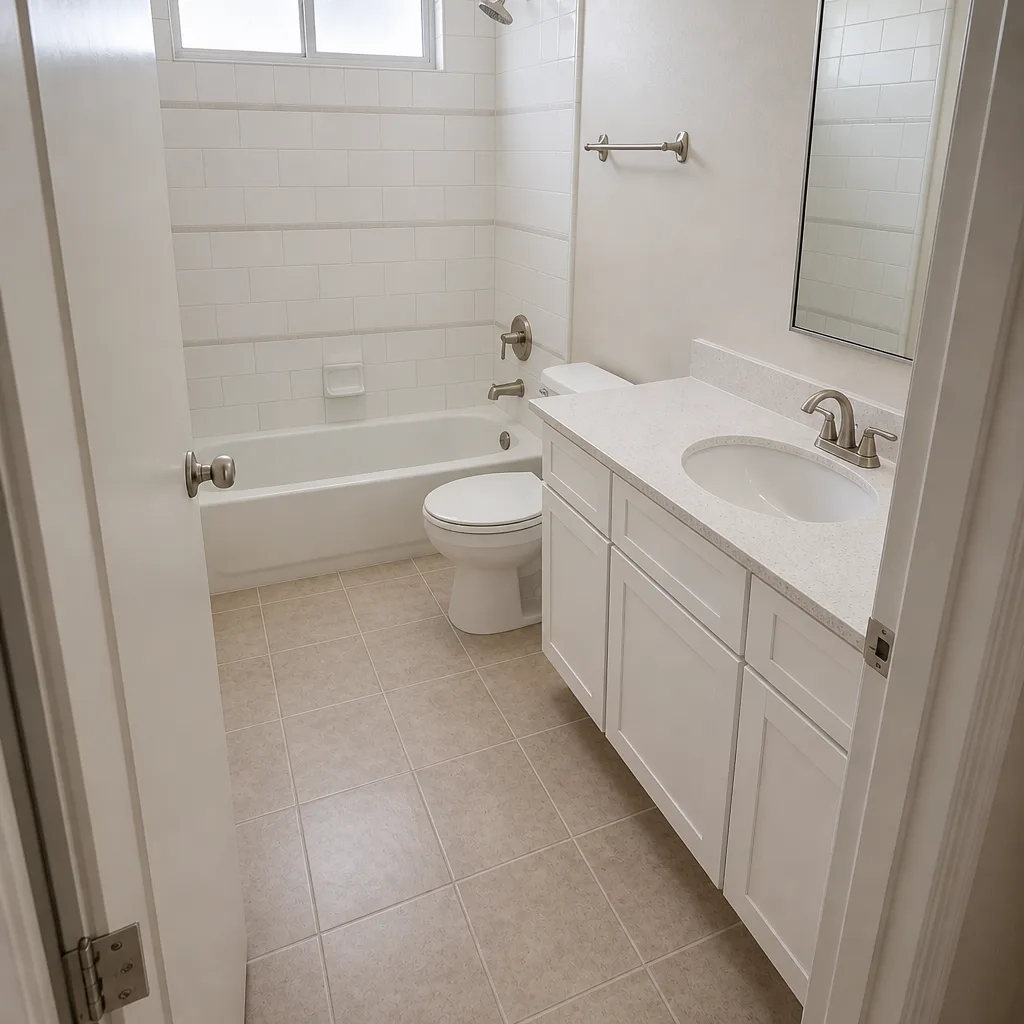 After
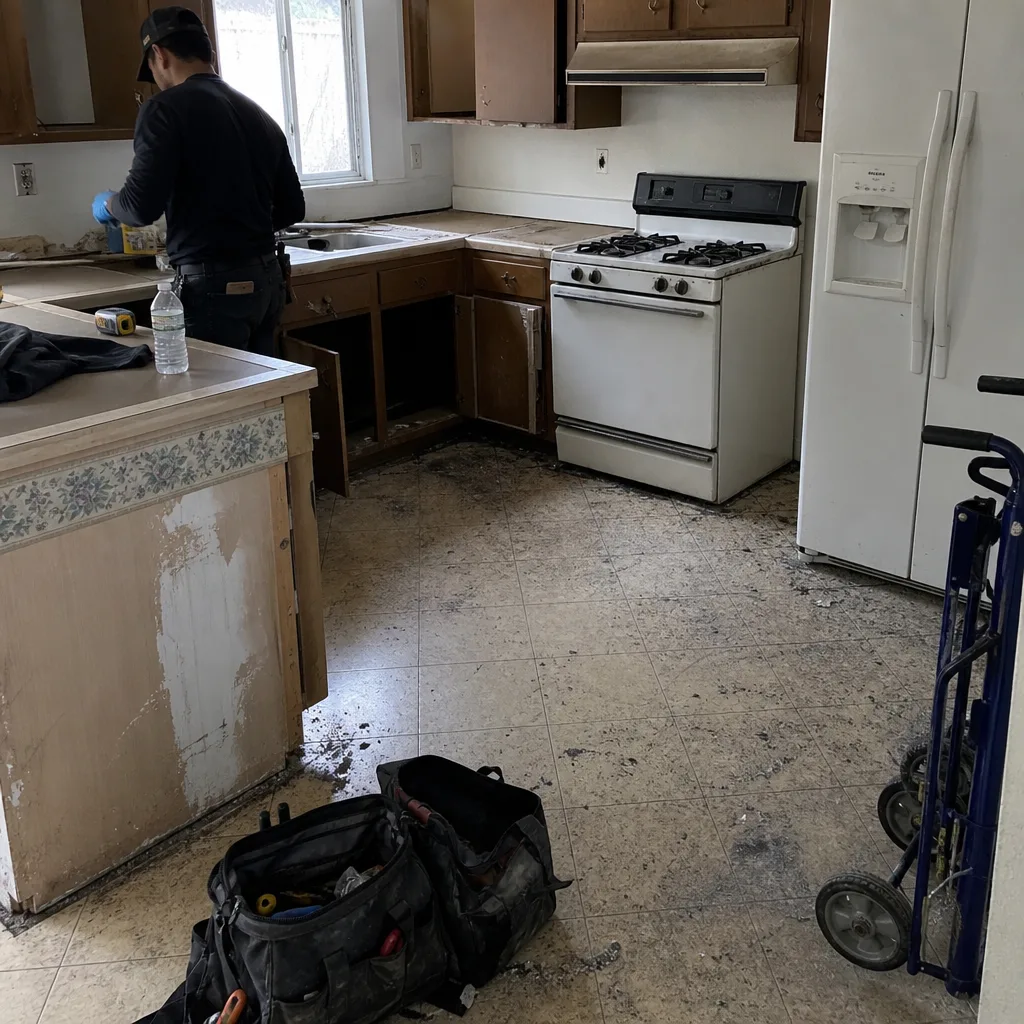 Before
 After
When to Call a Professional
Most of this calendar is homeowner work. A handful of scenarios aren’t. Call a professional when you find moisture behind the tile or a soft spot in the substrate, when grout or caulk replacement involves an active leak or a shower pan that shows movement, when a shut-off valve is seized or a fixture has a supply-line drip you can’t isolate, and when the exhaust fan needs replacement or rewiring rather than cleaning. A remodeler who works in Summerlin homes regularly knows the tell-tale signs of early water damage and can advise whether a finish needs repair or a full rebuild.
Bradford Remodeling Co Summerlin offers free estimates in Summerlin – call (844) 588-0072. Every quote is a written price before any work starts, our technicians are background-checked and uniformed, and every completed project carries the 365-Day Done Right Promise in writing. If a kitchen project follows the bathroom, our Kitchen Remodeling in Sandy Valley page covers the same approach.
Frequently Asked Questions
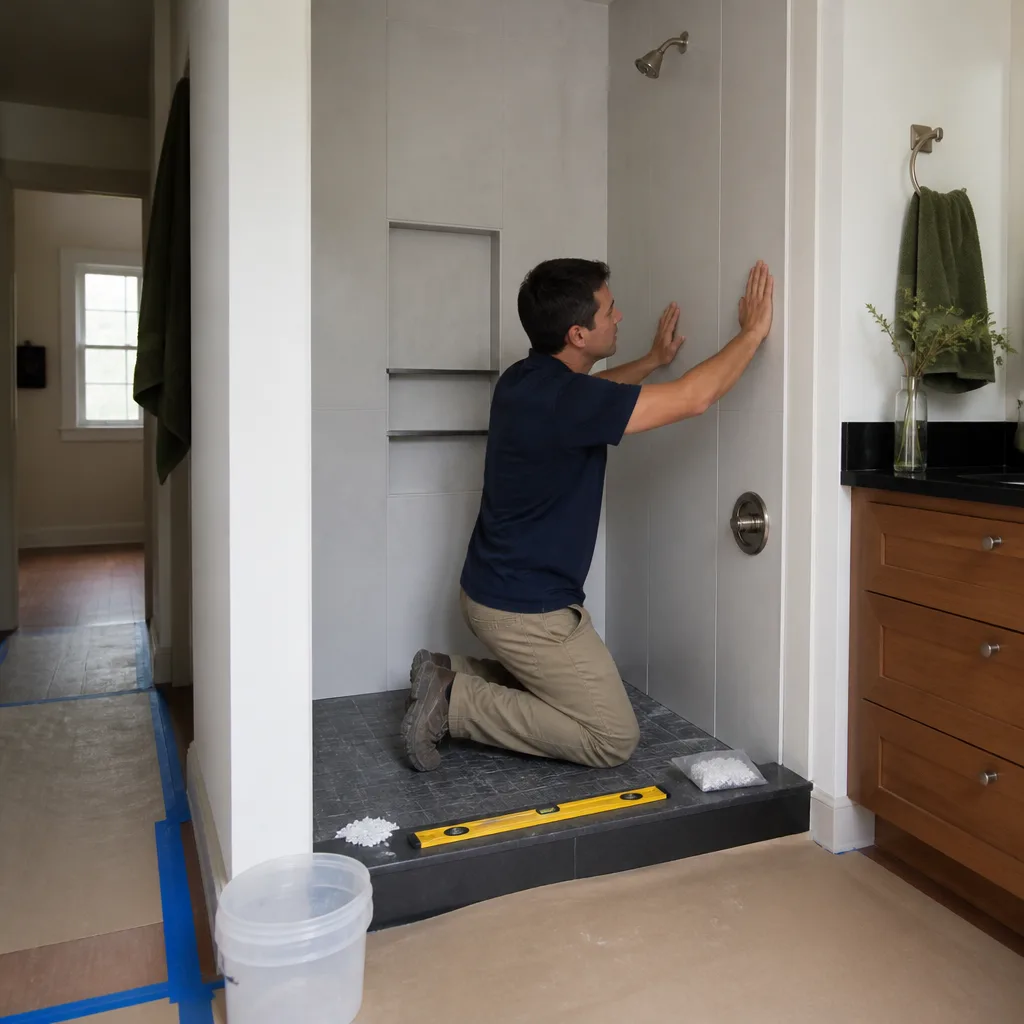
Replace silicone caulk at tub and shower perimeters every 3 to 5 years, even if it still looks intact. In Summerlin’s dry air the cured silicone can pull loose on the shorter end of that window. Inspect it every three months and replace on the calendar, not when you notice a stain.
Drip water on a grout line and watch it for two to three minutes. If the water beads, the sealer is holding. If the grout darkens and absorbs the water, it needs resealing. Reapply every 12 months for sanded grout and every 12 to 18 months for unsanded grout; epoxy grout generally doesn’t need sealing at all. Call (844) 588-0072 for a free estimate if the grout is failing beyond resealing.
Southern Nevada water is among the hardest in the country, so calcium and magnesium minerals scale up showerheads, aerators, and glass faster than in softer-water regions. Descale showerheads and aerators monthly rather than quarterly. Skipping the rhythm lets scale pit fixtures and clog aerators, which cuts water pressure.
Some tasks carry warranty consequences and some don’t. Skipping a specified grout reseal schedule, using the wrong cleaner on a finish, or letting moisture damage trace to a failed exhaust fan can void a manufacturer’s claim. Advisory tasks like squeegeeing glass or dusting the fan won’t. Our 365-Day Done Right Promise covers workmanship for a full year regardless; materials carry their own manufacturer specs and warranties that reach you at closeout.
Exercising the shut-off valves. A valve that hasn’t been turned in ten years will often seize and fail when you need it during a leak. Turn each valve under the sink and behind the toilet a quarter turn in each direction once a year, and check for weeping after.
Yes. Chrome tolerates mild vinegar on a soft cloth, but matte black and oil-rubbed bronze should get only soap and water, since acid etches them. PVD finishes on many Kohler and Moen fixtures tolerate mild soap but not abrasive pads or chlorine-heavy cleaners. Match the product to the finish before you scrub.
The Bottom Line
Bathroom maintenance in Summerlin is a calendar, not a reaction. The material sets the interval: sanded grout reseals yearly, epoxy grout doesn’t, silicone caulk at wet joints gets replaced every three to five years before it fails, and hard water dictates monthly descaling of showerheads and aerators. Exercise the shut-off valves every year so they work when you need them. Know which tasks carry a warranty consequence and which are just good housekeeping. Follow the schedule and a finish that’s built right holds for a decade and a half; ignore it and you’re re-grouting in three years. When a symptom turns into damage, call a professional before it becomes a rebuild.
Call (844) 588-0072 for a free estimate in Summerlin. Bradford Remodeling Co Summerlin brings you a written price before any work starts, background-checked and uniformed technicians, live-person phone coverage anytime you call, and the 365-Day Done Right Promise in writing on every completed project. Our technicians have up to 22 years of experience, and our documented roster of name-brand materials, including KraftMaid, Wellborn, Cambria, Caesarstone, Kohler, Moen, and Belgard, keeps every specification traceable. A live person answers the phone – call today and we’ll put the numbers on paper.
Written by the team at Bradford Remodeling Co Summerlin.