
Last updated November 17, 2026


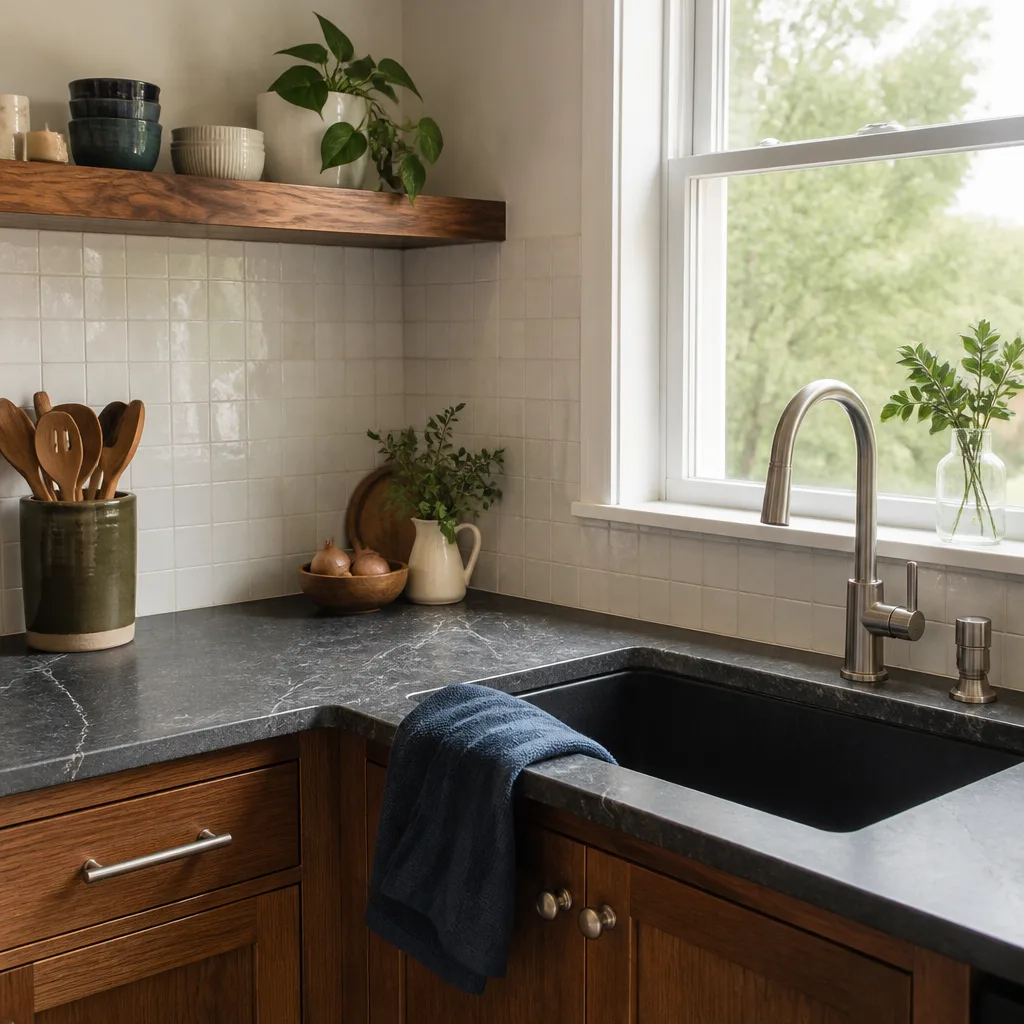





Free written scope consultation - allowances, timeline, and change-order rules on paper before a single trade is scheduled
Kitchen Remodeling Maintenance Schedule: What to Do and When
Summerlin tap water runs 300 to 400 ppm total dissolved solids. That’s hard water by any standard, and it changes the maintenance math for a new kitchen. Unsealed grout on a backsplash here will show mineral haze and color shift inside 18 months, not the two years most guides promise. Add 100°F-plus summers, single-digit winter humidity, and forced-air heat running five months a year, and a kitchen remodel in Summerlin ages on a different clock than the same kitchen in a milder climate. This guide lays out a real maintenance schedule calibrated to Summerlin conditions: what to check, when to check it, and what each task actually costs to skip. It’s built for homeowners who just finished a remodel, and for anyone planning one who wants the finish to hold.
Quick Answer
A kitchen remodel in Summerlin needs sealing work on a compressed schedule (grout and stone every 12 to 18 months, caulk joints every 2 to 3 years), filter and vent service every 3 to 6 months, cabinet finish care matched to the material, and a structured plumbing inspection at 6, 12, and 24 months post-remodel. Standard national advice assumes soft water and mild seasons. Summerlin has neither, so the intervals below run shorter than the generic checklist you’ll find elsewhere.
Styles & brands we work with
- Kitchen remodeling
- Bathroom remodeling
- Home additions & ADU
- Roofing
- Windows & doors
- Driveway & pavers
- Fence
Table of Contents
- Grout and Stone Sealing for High-TDS Water
- Cabinet Finish Care by Material
- Caulk Joint Service Life in Desert Conditions
- Under-Sink Plumbing Inspections at 6, 12, and 24 Months
- Range Hood and Vent Maintenance
- The Seasonal Calendar for Summerlin Kitchens
- Common Mistakes to Avoid
- When to Call a Professional
Grout and Stone Sealing for High-TDS Water
The “seal every two years” rule was written for households on soft or moderately hard water. Summerlin sits on some of the hardest municipal water in the region, and that changes the failure mode. Dissolved calcium and magnesium in the 300 to 400 ppm range deposit on porous surfaces every time water evaporates. On a cementitious grout line behind a sink or range, those minerals build a chalky film that traps soil and gradually shifts the grout’s color. Once that film hardens into the pores, no sealer will bond properly until the grout is cleaned back to bare material.
Here’s the interval we recommend for Summerlin kitchens:
- Backsplash grout: reseal every 12 months. This is the hardest-hit surface in the room because it takes splash and steam constantly.
- Floor tile grout: reseal every 12 to 18 months, and spot-check high-traffic runs in front of the sink and range at the 6-month mark.
- Natural stone counters (Silestone and Caesarstone are engineered quartz and don’t need sealing; granite, marble, and travertine do): seal every 12 months with an impregnating sealer. Engineered quartz like Caesarstone and Silestone needs only a damp cloth and a pH-neutral cleaner.
- Test before you reseal: drip a half-cup of water on the grout. If it beads, the sealer is holding. If it darkens the grout within a minute, it’s time.
Skip the sealer and you’re not looking at a cosmetic problem alone. Porous grout behind a sink wicks water into the substrate, and that’s where a small maintenance miss becomes a tile-and-backer repair. If you’re still planning the remodel and want grout specified for hard water, our Kitchen Remodeling in Sandy Valley page covers material selection in similar desert conditions.
Cabinet Finish Care by Material
Cabinet failures in Summerlin kitchens don’t usually start with impact or heavy use. They start with low humidity. Summerlin’s winter indoor air can drop to single-digit relative humidity, and painted MDF, thermofoil, and wood veneer each respond to that dry cycle differently. Clean them the same way and you’ll accelerate the failure you’re trying to prevent. Here’s the material-by-material protocol.
Painted MDF
Painted MDF is the most common finish in modern Summerlin kitchens, and it’s the most humidity-sensitive. In dry air, the paint film shrinks slightly and micro-cracks open along edges and joints. Wipe with a damp cloth and mild dish soap, then dry immediately. Never leave wet rags against a door face, and don’t use ammonia or citrus cleaners, which soften the paint film. Check door edges near the range twice a year for hairline cracks; those are the entry points for moisture in the next wet season.
Thermofoil
Thermofoil is a vinyl laminate over MDF, and its failure mode is delamination at the edges, driven by heat and steam. The biggest risk in a Summerlin kitchen is the cabinet run beside or above the range. Keep the closest thermofoil door at least 18 inches from a burner and confirm your hood is pulling enough air. Clean with a soft cloth and warm water only. Solvents and abrasive pads dull the surface and can lift the laminate edge.
Wood Veneer and Solid Wood
Wood veneer needs oil or a conditioning product once or twice a year depending on how dry the season runs, applied sparingly and buffed out. Over-oiling is a real failure mode; a tacky film attracts dust and shows fingerprints. In Summerlin, a light conditioning in late fall before the heating season and again in spring keeps the veneer from checking along the grain.
For KraftMaid and Wellborn cabinetry, follow the manufacturer’s finish care guide that came with the cabinets. Those specs are written by the maker and they back their own warranty; ignoring them can void it. When we specify these brands on a Bradford project, the care sheet goes in the homeowner’s hand at close.
Caulk Joint Service Life in Desert Conditions
Caulk at the countertop-to-backsplash and countertop-to-wall seams takes more abuse in Summerlin than almost anywhere else. Two forces work on it. Summer indoor humidity swings from near-zero in January to monsoon-season moisture in July and August. And the daily cycle of a kitchen with a dishwasher and a range pushes localized heat and steam into the same joint. Standard 100% silicone in these seams will hold 3 to 5 years in moderate climates. In Summerlin, plan to inspect every 12 months and expect to recaulk every 2 to 3 years at the sink and range, and every 3 to 4 years on runs away from heat and water.
What early failure looks like:
- Pulling away at one end. A seam that separates at a corner in month 18 will separate the full run within a year. Recaulk the whole seam; spot-patching traps moisture.
- Hairline cracks along the bead. UV exposure through a kitchen window accelerates this. Cracks let water behind the bead where it can’t dry.
- Discoloration or dark specks. Mold in a caulk joint usually means moisture is getting behind it. Clean, dry fully, and replace, don’t just scrub.
Recaulking a counter seam is one of the least glamorous jobs on this list and one of the most important. The cost of a tube of quality silicone and an afternoon beats the cost of a water-damaged cabinet base every time. If the seam sits against an unsealed stone counter, seal the stone first, then caulk. Our General Contractor in Sandy Valley team does this exact work on remodels throughout the region.
Under-Sink Plumbing Inspections at 6, 12, and 24 Months
The under-sink cabinet is where small plumbing problems quietly become big ones. Almost all of the water damage we see in kitchens that are 2 to 5 years past a remodel starts at a supply line, a P-trap joint, or a disposal connection. In Summerlin, the dry air actually helps here (it dries minor weeping fast), which is a problem: minor leaks can self-seal visually and go unnoticed until the cabinet base is soft. Here’s the inspection cadence.
At 6 Months
- Check supply lines. Run a dry paper towel along each flexible or braided line and its connection at the shutoff and the faucet. Any dampness means the fitting needs attention.
- Look at the P-trap and disposal connection. A dry paper towel under each joint after running the faucet and the disposal for 30 seconds.
- Feel the cabinet base. If the floor of the cabinet feels soft or spongy under the sink, you have a slow leak.
At 12 Months
- Inspect braided lines for fraying or corrosion at the ferrules. Braided stainless supply lines have a service life; if the connection end shows rust or fray, replace the line.
- Check the dishwasher drain hose. Look for kinks, cracks, or a loose clamp at the disposal inlet.
At 24 Months
- Replace sacrificial components proactively. Braided supply lines, the disposal’s rubber gasket, and any plastic P-trap components are cheap and worth swapping at the two-year mark whether or not they’re leaking.
- Reseal the cabinet base if it has taken any moisture. A bead of water-resistant sealant at the toe kick interior protects the substrate for the next cycle.
If you spot active weeping at a supply fitting, shut the valve and call a plumber. Water under pressure and behind a cabinet is not a DIY-fix moment. Kohler and Moen fixtures and their included braided lines follow the manufacturer’s replacement guidance; check the spec sheet for your model.
Range Hood and Vent Maintenance
The range hood is the most-overlooked maintenance item in any kitchen, and in Summerlin it does double duty. It moves cooking grease and moisture out, and it also protects the paint finish on the cabinet run above your range from the heat and steam cycle. Filters and vent flaps fail on a schedule, and skipping them shows up as yellowed cabinet faces and stale air before it shows up as a hood problem.
Recommended intervals for Summerlin kitchens, where the range runs often and indoor air gets dry:
- Ducted hood grease filter: clean every 4 to 6 weeks. Dishwasher-safe metal baffles can go in the dishwasher; carbon or mesh filters cannot. Replace carbon filters every 3 to 6 months.
- Ductless/recirculating hood: replace the charcoal filter every 3 months. Keep it on this short cycle; recirculating hoods are the most common source of cabinet grease film we see.
- Exterior vent flap: inspect twice a year, once before summer and once after. Summerlin’s wind and dust can jam a flap open, which lets hot outside air backflow and, worse, leaves a path for insects and rodents into the duct. A flap that sticks is a 10-minute fix; a flap that stays open for a season is a duct cleaning.
- Duct interior: have it inspected every 2 to 3 years, more often if you cook with oil regularly.
If the exterior flap is on the second story or the hood duct is hard to reach, don’t climb a ladder to fix it yourself. That’s a ladder and tools job best handled by a pro.
The Seasonal Calendar for Summerlin Kitchens
Print this and put it inside a cabinet door. The Summerlin climate moves the maintenance calendar in ways a general national schedule misses.
Spring (before the first 100°F week)
- Inspect the exterior range hood vent flap; clean and free it.
- Check caulk at the sink and range seams; replace if cracked or pulling.
- Clean the hood grease filter and replace the carbon filter if recirculating.
Summer (June through September)
- Water-test grout on the backsplash; reseal if water darkens it.
- Do a quick under-sink paper-towel check monthly; heat and heavy use stress the connections.
- Condition wood veneer cabinets in the dry stretch, if your finish calls for it.
Fall (before the heater turns on)
- Inspect painted MDF doors for hairline cracks at edges and joints.
- Reseal natural stone counters with an impregnating sealer, applied to bare, dry stone.
- Replace the range hood filter on schedule.
Winter (dry season)
- Check thermofoil edges near the range for delamination; run the hood on low if you’re cooking a lot.
- Do the 6/12/24-month plumbing inspection on schedule.
- Reseal the cabinet base interior if you noticed any moisture.
The one task that doesn’t fit a season: a full under-sink inspection whenever you move in or right after a remodel. That’s your baseline, and everything else is measured against it.
Common Mistakes to Avoid
- Sealing grout on the standard two-year cycle. Summerlin’s 300 to 400 ppm water exhausts sealer faster than that. A two-year cycle here means 6 to 12 months of unprotected grout every cycle.
- Cleaning thermofoil with a solvent or abrasive. This dulls the surface and can lift the edge, which is exactly where thermofoil fails first. Warm water and a soft cloth only.
- Ignoring the exterior vent flap. A stuck-open flap lets dump-season dust and heat back into the duct and into the kitchen. Check it twice a year, not once.
- Patching caulk instead of replacing the seam. A spot-patch traps moisture behind the bead. If the seam separated at one end, it will separate on the full run.
- Waiting for water stains before checking under-sink connections. A slow braided-line weep dries fast in our low humidity and hides until the cabinet base is soft. Use the paper-towel check at 6, 12, and 24 months.
- Applying sealer to dirty grout. Sealer over mineral film won’t bond and won’t protect. Clean to bare material first, dry fully, then seal.
- Assuming engineered quartz needs sealing. Caesarstone and Silestone counters need a pH-neutral cleaner and nothing else. Sealing them is wasted effort and can leave a film.
When to Call a Professional
Some of this schedule is genuinely homeowner work: wiping down cabinet faces, checking the paper towel under the sink, running a water test on grout. Some of it isn’t. Call us when the work involves active supply or drain leaking, when a caulk seam has separated against a stone counter that also needs sealing, when the exterior vent flap is above the first story, when painted MDF shows cracking at the joints, or when you’re not sure the finish you have is the finish you think it is. The cost of guessing wrong on cabinet materials or on a suspected slow leak is much higher than the cost of an inspection. Bradford Remodeling Co Summerlin offers free estimates in Summerlin, and we’ll put a written price in your hand before any work starts. Call (844) 588-0072.
See the difference
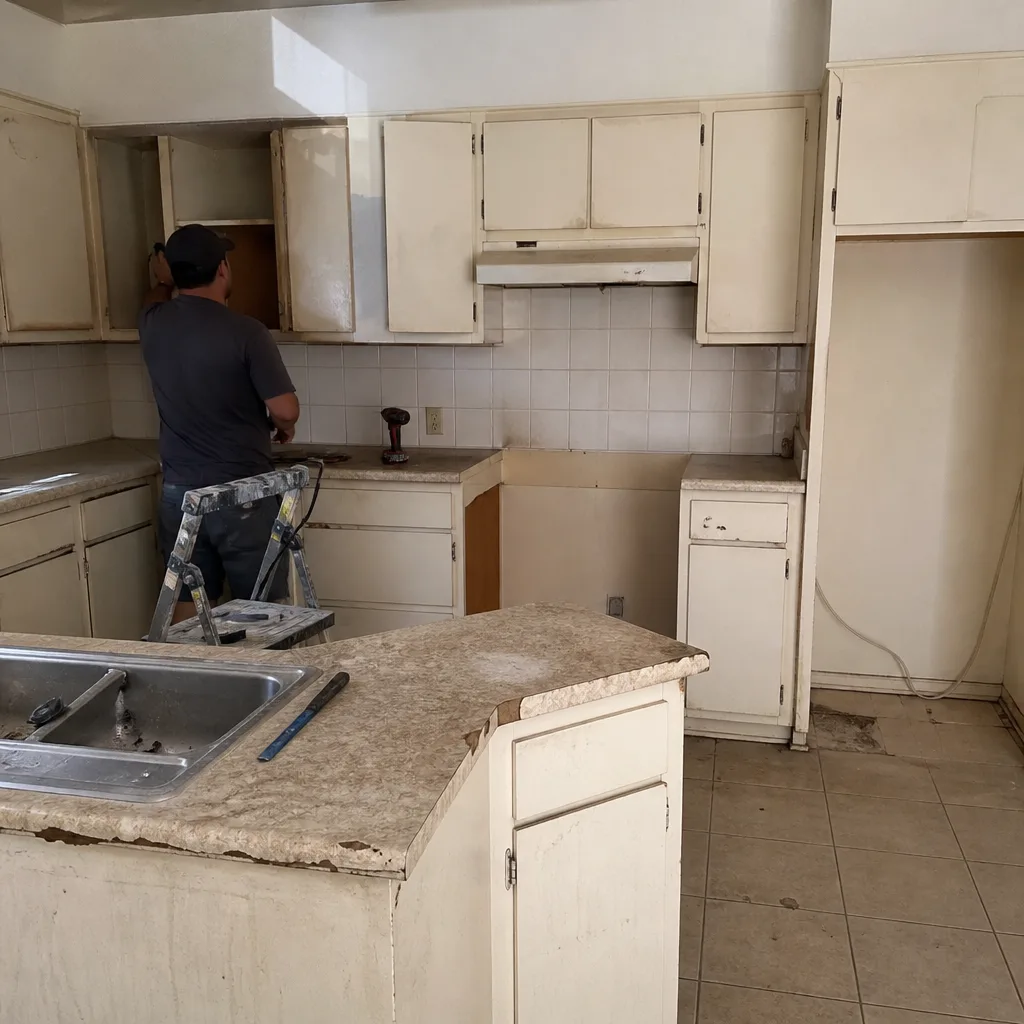 Before
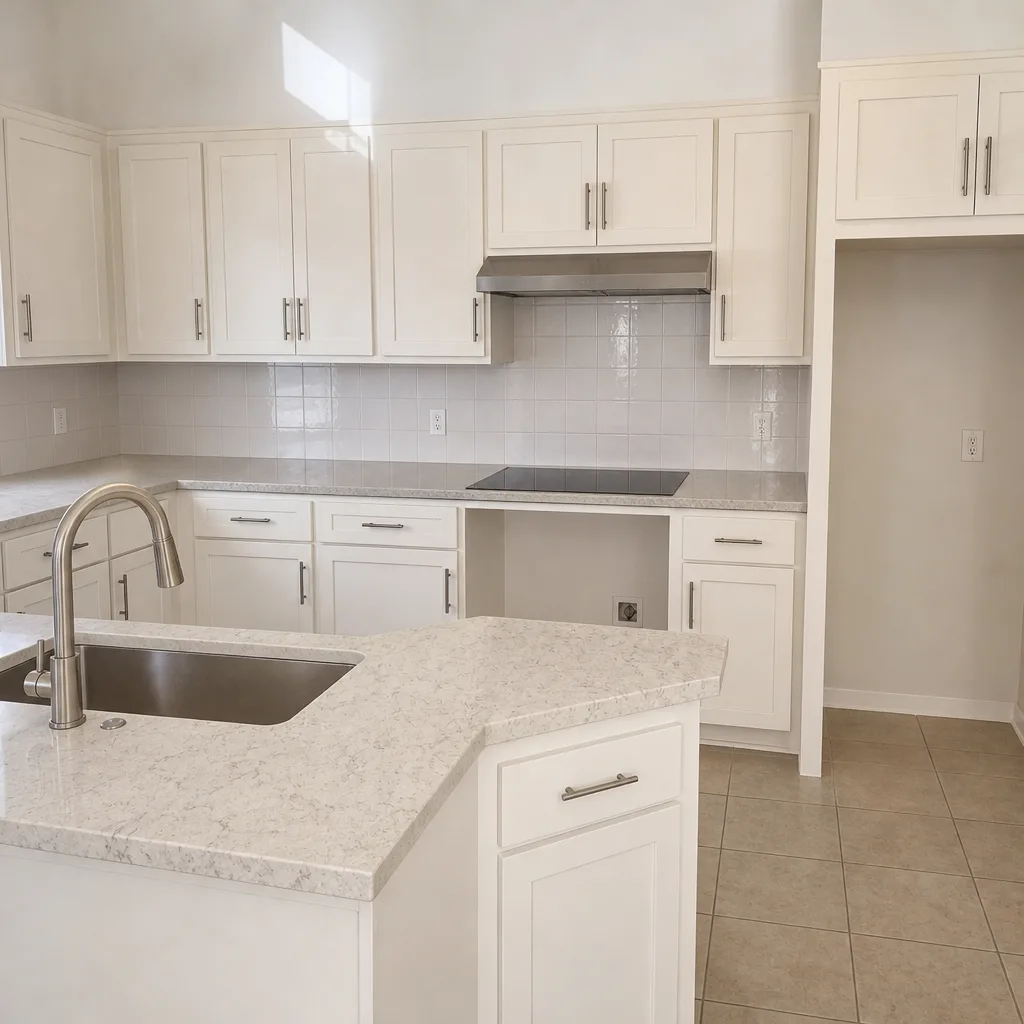 After
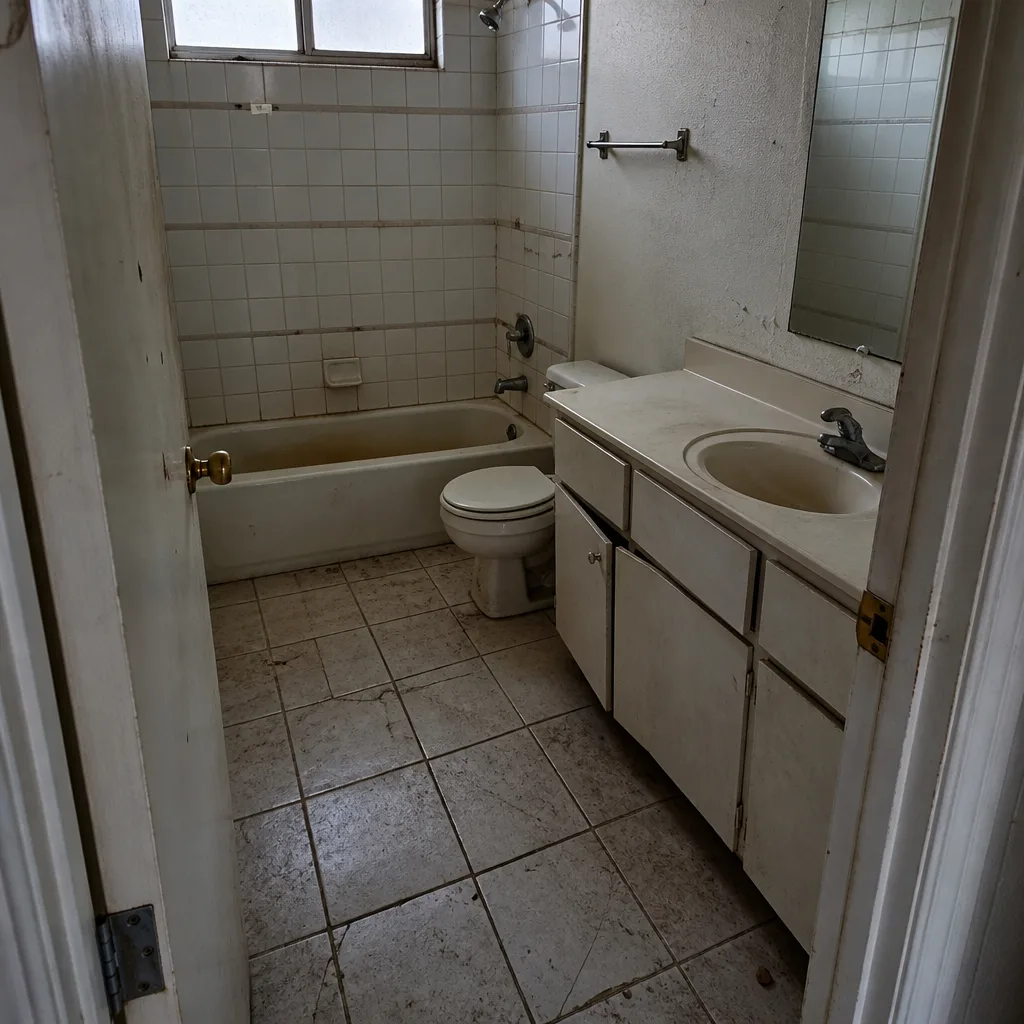 Before
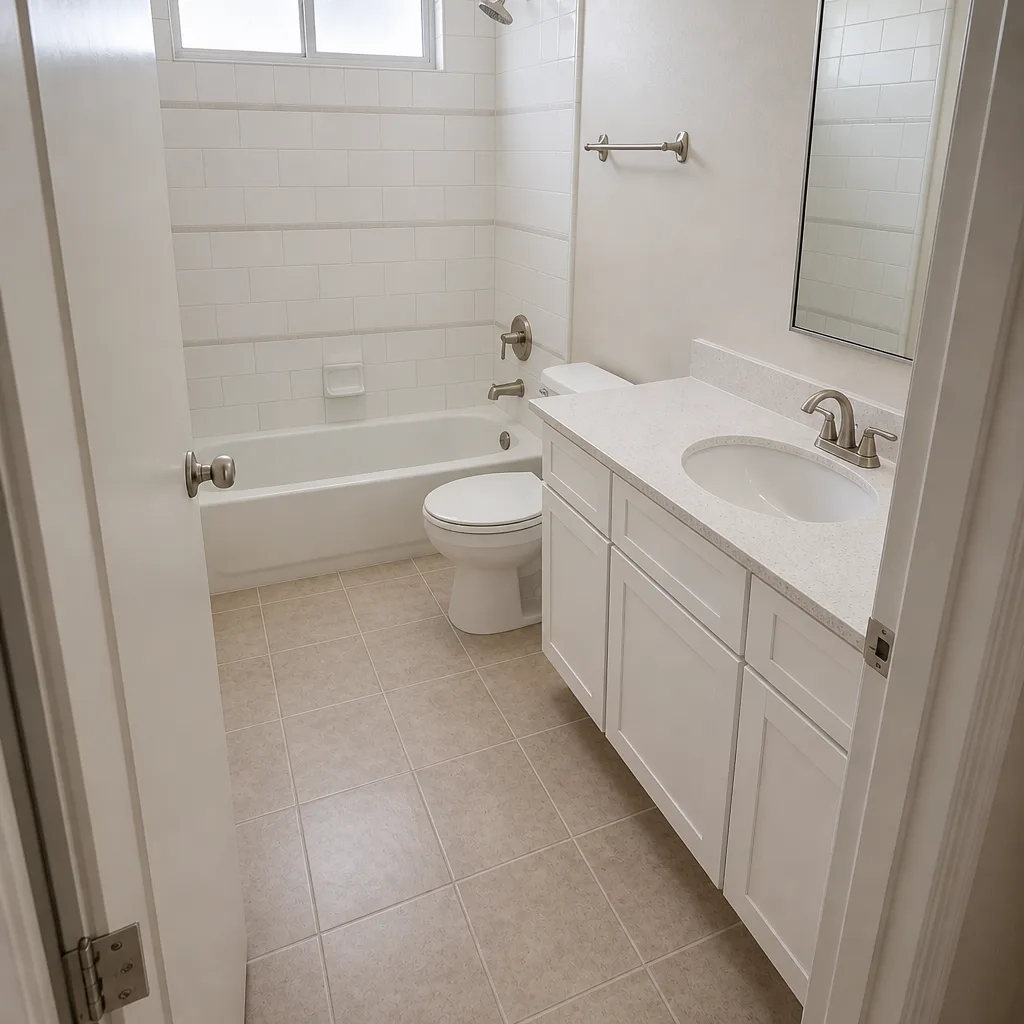 After
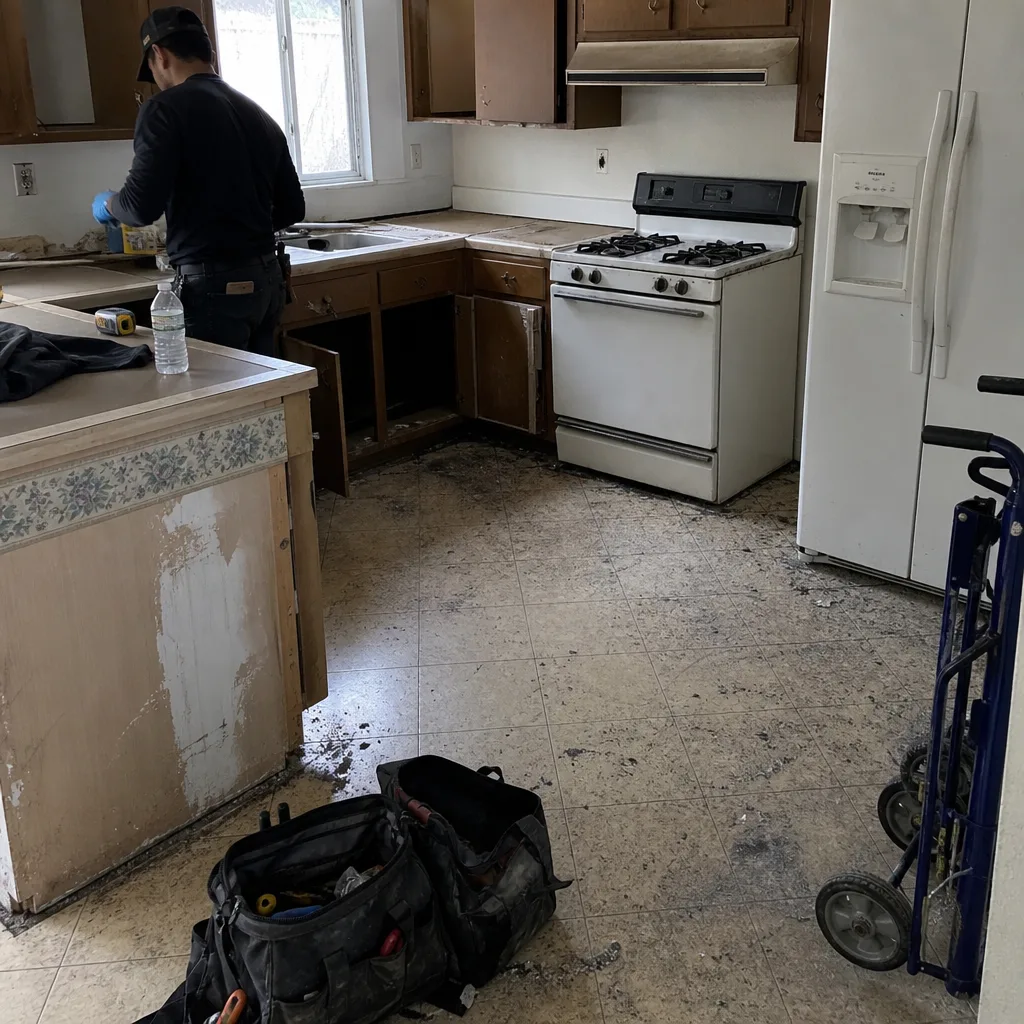 Before
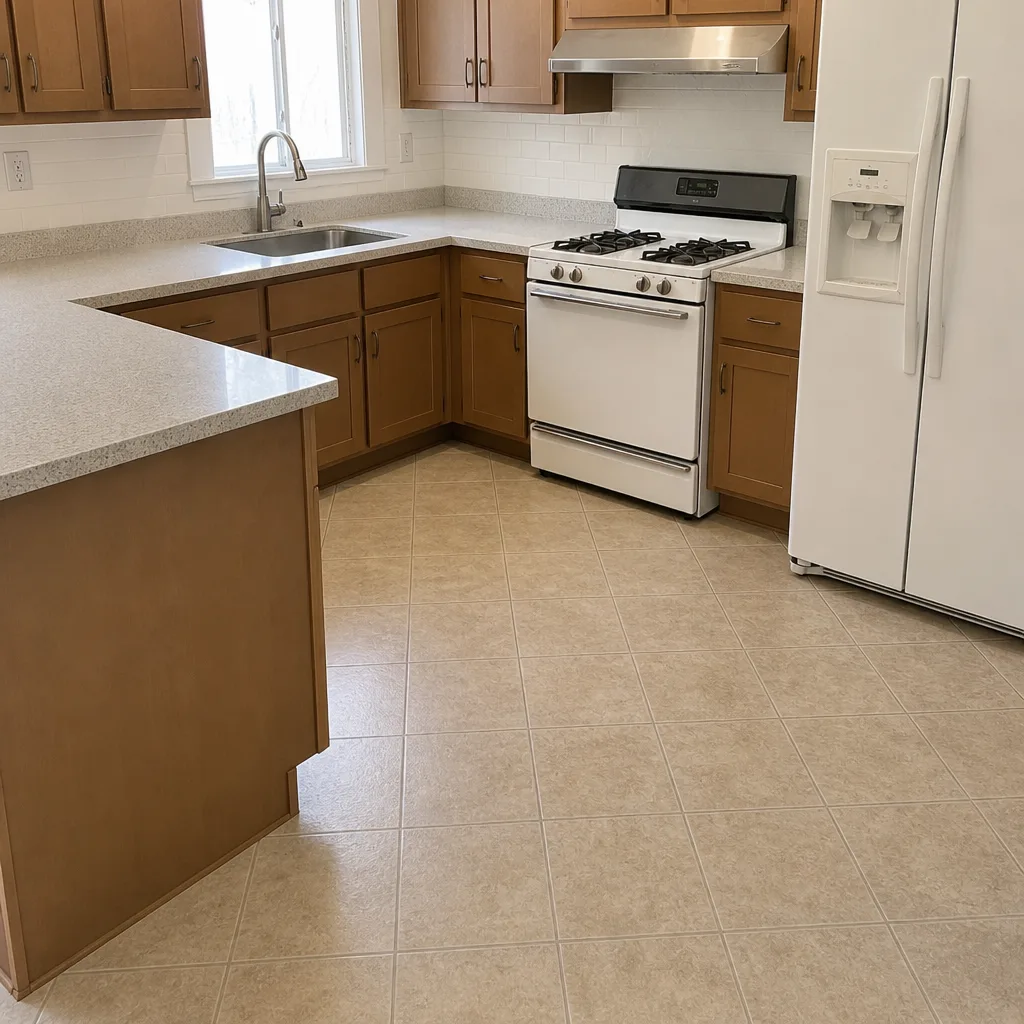 After
Frequently Asked Questions

Once a year for backsplash grout and every 12 to 18 months for floor grout. The general industry advice says two years, but Summerlin’s 300 to 400 ppm water exhausts sealer faster, and a water-drop test is the only reliable check. Drop a half-cup of water on the grout; if it darkens within a minute, reseal now. Call (844) 588-0072 for an exact quote on resealing or regrouting; estimates are free.
No, engineered quartz like Caesarstone and Silestone is non-porous and handles hard water fine with a damp cloth and pH-neutral cleaner. Natural stone counters (granite, marble, travertine) are the ones that need an annual impregnating sealer, because mineral deposits and hard water can etch and stain them over time. If you’re unsure which material you have, a free estimate visit can tell you. Call (844) 588-0072.
Two things: Summerlin’s indoor humidity swings from near-zero in winter to monsoon moisture in summer, and heat and steam from the range and dishwasher push the same joint daily. Expect to inspect every 12 months and recaulk every 2 to 3 years at the sink and range. A pulling seam should be fully replaced, not patched. Call (844) 588-0072 to schedule a free estimate on caulk replacement and seam resealing.
Every 4 to 6 weeks for a ducted hood’s grease filter; replace charcoal/carbon filters every 3 to 6 months. In Summerlin’s dry, dusty climate, also inspect the exterior vent flap twice a year so it doesn’t jam open and let dust and heat back in. If the flap is hard to reach, don’t climb for it; call (844) 588-0072 to have it inspected.
Do a paper-towel check at 6, 12, and 24 months: run a dry paper towel along each supply line and P-trap joint, then feel the cabinet base for softness. Any dampness means a fitting needs attention, and any soft cabinet base means a slow leak. Active weeping at a supply fitting is a call-a-plumber situation. Call (844) 588-0072 for a free estimate if the inspection turns up damage.
No. The 365-Day Done Right Promise covers every completed Bradford project for a full year, and standard maintenance like sealing and caulking is normal homeowner care. The schedule in this guide is what keeps your finish and cabinetry at spec, and it’s what we hand every homeowner at project close. Call (844) 588-0072 with questions about your guarantee or to schedule a free estimate on the next phase of work.
The Bottom Line
Summerlin’s hard water and dry climate don’t let you run the national maintenance checklist unmodified. Seal backsplash grout yearly and floor grout every 12 to 18 months. Match cabinet care to the finish, whether painted MDF, thermofoil, or wood veneer. Inspect caulk seams every 12 months and recaulk every 2 to 3 years at the sink and range. Run the 6/12/24-month under-sink plumbing check. Clean the hood filter every 4 to 6 weeks and check the vent flap twice a year. Do those five things and your kitchen holds up through the climate instead of wearing out against it. When something needs a trained hand, that’s where we come in: written price before any work starts, and the 365-Day Done Right Promise on the back end.
If you’re starting a kitchen project or need a finish inspected in Summerlin, our team can help. We bring a documented roster of name-brand materials, including Silestone, Caesarstone, Kohler, and Moen, so every specification is traceable. For full-home work, see the Bradford Remodeling Co Summerlin home page, or explore Bathroom Remodeling in Sandy Valley if you’re carrying the plan through the rest of the house. Call (844) 588-0072 to schedule your free estimate, and we’ll answer the phone with a live person any hour of the day.
Written by the team at Bradford Remodeling Co Summerlin.