Last updated November 17, 2026








Free written scope consultation - allowances, timeline, and change-order rules on paper before a single trade is scheduled
Bathroom Remodeling Troubleshooting: Common Problems and How to Fix Them
Grout that cracks within 90 days of a finished bathroom almost never means bad grout. Grout is cement and sand; it’s supposed to flex a little and stay put. When it splits in a clean line along a floor-to-wall joint or spiderwebs across a shower floor, the substrate underneath moved. That points to a backer board that wasn’t fastened to spec, a missing control joint at the perimeter, or a joist that deflects under foot traffic. It’s a workmanship defect, and naming it that way changes the whole conversation. This guide maps the symptoms you see after a Summerlin bathroom remodel to the installation failures that cause them, and shows you how to put a defect claim in writing so it’s actionable rather than a phone argument.
Quick Answer
Most bathroom problems that show up after the job is signed off are installation failures, not material failures: cracked grout traces to a moving substrate, a musty smell traces to failed waterproofing behind the tile, a foggy mirror traces to an exhaust fan sized below the room’s cubic footage, and a toilet that runs traces to a flapper or valve seat that doesn’t match the model. Identifying the root cause is what gives you leverage. A written warranty plus dated photos and a specific cause is a claim a contractor has to answer. A verbal “we’ll look at it” is not.
Styles & brands we work with
- Kitchen remodeling
- Bathroom remodeling
- Home additions & ADU
- Roofing
- Windows & doors
- Driveway & pavers
- Fence
Table of Contents
- Why does grout crack after a bathroom remodel?
- What causes a musty smell in a newly remodeled bathroom?
- Is your exhaust fan sized correctly? What IRC and Nevada code require
- Why does a new toilet run or refill on its own?
- Slow drains and low pressure after a remodel
- Door swings, binding, and hardware that drifts
- Homeowner maintenance failures vs. contractor installation failures
- How to document a defect claim so it holds up
- The Nevada demand letter process for warranty disputes
Why does grout crack after a bathroom remodel?
Cracked grout is a substrate problem about nine times out of ten. The grout itself is rarely at fault. What happens is the tile assembly moves more than the grout can absorb, and it relieves the stress at the weakest point.
Here are the causes we see most in Summerlin bathrooms, roughly in order of frequency:
- Backer board fastened too sparsely or without thinset behind it. Cement backer board needs a full bed of thinset and screws at the manufacturer’s spacing. Board laid dry over studs flexes.
- No control joint at the perimeter. Tile butts tight to the wall and to the tub, with no flexible sealant joint. Thermal movement has nowhere to go, so the grout takes it.
- Subfloor deflection. A floor framed for carpet may not meet the L/360 deflection standard tile requires. The floor bounces a hair, the tile doesn’t, and the grout gives.
- Grout mixed too wet or not cured properly. Overwatered grout shrinks as it cures and hairline cracks appear within days.
- Movement from a settling or improperly blocked tub. A tub that rocks on its apron transfers that movement straight into the surrounding tile.
What to check before you call: run a straightedge across the cracked line. If the tile on either side sits at different heights, the substrate has shifted. Press on the tile near the crack; a hollow sound or visible flex confirms the diagnosis. Take a photo with a tape measure in frame, note the date, and put the cause in writing when you contact the installer. In our experience, a grout crack that follows a straight line along a change of plane is nearly always a missing control joint, and that’s a fix the contractor owes you, not a maintenance item.
What causes a musty smell in a newly remodeled bathroom?
A musty smell in a bathroom remodeled within the last year points to trapped moisture, and trapped moisture behind tile almost always means the waterproofing failed or was never installed correctly. This is the single most expensive post-completion defect in bathroom work, because correcting it means removing tile.
The usual culprits:
- No waterproof membrane in a wet area. A shower surround needs a bonded waterproofing membrane or a coated cement board system behind the tile, not just moisture-resistant drywall.
- Membrane installed with gaps at penetrations. The valve body, shower arm, and drain collar are where membranes leak. Missing sealant or a cut membrane at any of those points lets water in.
- Improper pan slope. A shower pan needs slope to the drain. A flat or back-sloped pan holds water under the tile.
- Weep holes blocked. The drain’s weep holes must stay clear and the mud bed must drain. Blocked weep holes trap water permanently.
- Exhaust fan venting into the attic. Air that should leave the house is dumping moisture into the attic and cycling back.
Smell plus a soft spot at the base of a wall or a loose tile near the shower floor is a strong sign. Press on the tile and probe the caulk line at the floor. If the caulk peels away wet, stop using the shower and get it inspected. A water-damaged shower in a Summerlin home can develop mold in the wall cavity well before the surface shows it, and the earlier it’s caught the less tile comes off. This is a defect to raise in writing right away.
Is your exhaust fan sized correctly? What IRC and Nevada code require
An exhaust fan has to move a specific volume of air for the room’s size, and it has to exhaust outdoors. That’s not an opinion; it’s written into the building code, and it’s the standard your contractor is held to.
The International Residential Code (IRC) requires bathroom exhaust at a minimum of 50 cubic feet per minute (CFM) for intermittent fans, or 20 CFM continuous. Many jurisdictions, including those enforcing the Nevada plumbing and mechanical codes, add the requirement that the fan be sized to the room’s volume and that exhaust terminate outdoors, never in an attic or crawl space. The practical formula:
- Measure the bathroom’s length × width × ceiling height to get cubic feet.
- Divide that by 7.5 for a bathroom (the code’s air-change assumption for wet rooms).
- The result is the minimum CFM the fan should be rated for. A 10×10 bathroom with an 8-foot ceiling is 800 cubic feet, which works out to roughly 107 CFM minimum.
- Check the duct run. A long, undersized, or heavily elbowed duct chokes the fan’s rated CFM regardless of what’s on the box.
- Verify the duct terminates outside the building envelope, ideally with a proper vent cap and insulated duct through unconditioned space.
If your mirror fogs and stays fogged for ten minutes after a shower, the fan is undersized, the duct is restricted, or it’s venting into the attic. All three are installation defects. A common failure we see: a builder-grade 50 CFM fan left in place when a Summerlin bathroom is remodeled into a larger wet room, so the fan is suddenly underpowered for the new volume. If the mirror fogs and the ceiling above the shower beads with condensation, get it corrected. It’s a code compliance issue as much as a comfort issue.
Why does a new toilet run or refill on its own?
A toilet that runs after a remodel is almost always a flapper or fill valve problem, and the cause is usually a spec mismatch between the valve and the toilet model. Modern low-flow toilets have specific fill valve and flapper requirements, and a valve installed from a generic kit will not seal correctly on a bowl it wasn’t designed for.
What to check:
- Flapper seat. Mineral buildup on the seat, or a flapper that doesn’t sit flush with the seat, causes a slow leak into the bowl. That triggers the fill valve to cycle.
- Fill valve height. The refill tube must sit above the overflow tube but not so high it sprays. Set too low, the toilet runs continuously.
- Chain tension. Too tight, the flapper never seats. Too loose, it never opens fully.
- Supply pressure. High water pressure can force a fill valve to cycle. Check the pressure at a hose bib.
- Wax ring and flange alignment. A toilet that rocks after install has a compromised wax ring. Re-setting it is the contractor’s job.
A running toilet is the kind of thing you can fix yourself if it’s a chain or flapper issue. If the toilet rocks, the flange was set wrong, or the valve clearly doesn’t match the model, that’s an installation issue. Photograph the running toilet with a video showing the water movement in the bowl, and note the model number. Manufacturers like Kohler and Moen publish their valve specs; if the installed valve doesn’t match, that’s a documented defect.
Slow drains and low pressure after a remodel
Slow drains and weak shower pressure after a remodel aren’t random. They’re traced most often to debris left in the line during construction, a fitting installed backward, or a pressure-balancing valve adjusted wrong.
What to check, in order:
- Remove the aerator or shower head and check for construction debris. Thinset and grout dust frequently lodge in the screens and aerators. Clear it and test.
- Check the pressure-balance valve. Anti-scald valves have an adjustable limit stop. Set too conservatively, they cut flow hard. The installer should have adjusted it and tested the water temperature and pressure at the fixture.
- Confirm the drain trap and line are clear. A remodel that cuts a drain line and reconnects can trap debris. If a plunger doesn’t fix it, suspect a partial blockage in the trap arm.
- Check for a partially closed shutoff valve under the sink or at the wall. It happens.
If clearing the aerator restores flow, you’re done. If not, the problem is behind the wall or in the rough-in, and that’s a contractor scope item. Document the pressure at the fixture and the date it started. In Summerlin, hard water compounds the issue; scale can build in a fixture in a few months, but a sudden drop after a remodel is not scale. It’s installation.
Door swings, binding, and hardware that drifts
A door that binds after a remodel almost always means the door was rehung out of plumb, the framing moved during construction, or the hardware was installed on a slab that had already warped. In wet rooms the diagnosis narrows further: moisture in the room moves the door slab, especially a wood door in a humid bathroom.
- Binding at the top or side means the jamb is out of plumb or the slab has swollen.
- Binding at the latch means the strike plate and latch aren’t aligned; the plate was installed before the door settled into its swing.
- Hardware that drifts means screws were driven into drywall or a thin jamb instead of into framing or blocking.
- A door that swings open or closed on its own means the hinge pin is out of plumb. The fix is hinge adjustment, not replacing the door.
For a wood door in a humid bathroom, the fix may be as simple as sealing all six sides of the slab and giving it room to move at the strike. For a jamb out of plumb, a contractor has to correct the install. Photograph the gap at the top of the door with a level in frame, measure the gap at top and bottom, and send it in writing. A binding door is a hard defect to chalk up to “weather” when you have photos of the gaps.
Homeowner maintenance failures vs. contractor installation failures
This is the part where honest contractors lose arguments they shouldn’t, and dishonest ones win arguments they shouldn’t. The line between “you need to maintain this” and “I installed this wrong” is not always obvious. Here’s the distinction we hold ourselves to.
Homeowner maintenance items (expected upkeep):
- Re-caulking around the tub and shower perimeter when the sealant wears out, typically every few years.
- Cleaning scale off fixtures and glass in Summerlin’s hard water, and replacing aerator screens when they clog.
- Replacing a flapper or fill valve as it ages; these wear out regardless of who installed the toilet.
- Clearing a drain that’s clogged by hair or soap.
- Replacing an exhaust fan’s motor or cleaning its grille when dust restricts airflow.
Contractor installation failures (a defect claim, not maintenance):
- Grout cracking from a missing control joint or unfastened backer board.
- Water intrusion from a missing or poorly sealed waterproof membrane.
- A fan that never met the room’s CFM requirement, or that vents into the attic.
- A toilet that rocks because the flange wasn’t set correctly.
- A door that binds because the jamb is out of plumb.
- A shower valve that was never adjusted to deliver adequate pressure and temperature.
Be honest with yourself about which category a problem falls into. A worn flapper is yours. A grout crack from a moving substrate is the installer’s. Getting the category right is what keeps the conversation productive.
How to document a defect claim so it holds up
A verbal assurance gets you nothing six months later. A written claim with photos and a stated cause gets a response, because it’s specific and it’s on the record. Here’s how to put one together.
- Write down the date the problem first appeared and the date of the original installation, from your contract.
- Photograph the defect with a scale in frame. A tape measure or a coin next to a grout crack tells the story.
- Name the cause. “Grout cracking along the floor-to-wall joint, consistent with a missing control joint” is stronger than “the grout is cracking.”
- Cite the warranty. Reference the exact warranty language and its coverage period. A written warranty with a stated term is the document that makes a claim enforceable.
- Send it by a method that creates a paper trail. Email or certified mail, with a read receipt or tracking number. Keep a copy.
- Set a response request. A specific date by which you’d like a reply and an inspection scheduled.
This is why a written warranty matters before work starts, not after. Our 365-Day Done Right Promise is a full-year written guarantee on every completed project. If the work fails inside that window, we return and correct it at no charge. That’s the framework any homeowner should ask for, from us or anyone else: something in writing with a term, a scope, and a remedy. The bathroom remodeling in Sandy Valley work we do follows the same standard, and every project gets a written price before the first tool comes out.
The Nevada demand letter process for warranty disputes
If a written claim goes unanswered or the contractor disputes it, Nevada gives you a path short of small claims court, and it starts with a demand letter. This is a formal written notice stating the defect, the remedy you’re requesting, and a deadline for the contractor to respond.
- Compile your documentation (photos, contract, warranty, previous correspondence) into a single dated file.
- Write the demand letter stating the defect, the cause, and the remedy you’re asking for. Be specific: “repair the shower pan waterproofing at no charge” or “reimburse the cost of an independent inspection.”
- Set a reasonable response deadline (30 days is typical) and state what happens next if there’s no response.
- Send by certified mail with return receipt. Keep the receipt.
- Give the contractor a chance to inspect. A demand letter is not a lawsuit; it’s an invitation to fix the problem before it becomes one.
- If the deadline passes without a response, small claims court in Nevada handles disputes up to the jurisdictional limit and doesn’t require an attorney.
More important than the mechanics: most disputes never reach the demand letter stage when the original warranty was written and specific. The Garrison Standard is built on that idea. Every price and every guarantee is in writing before a single tool comes out, so when a defect surfaces, there’s a document to point to. Our general contractor in Sandy Valley work runs on the same written-scope discipline.
Common Mistakes to Avoid
- Accepting verbal comfort instead of a written remedy. “We’ll get someone out” is not a plan. Ask for the fix, the date, and the name of the person responsible, in writing. A written guarantee with a defined term is the only version that holds up.
- Waiting until the warranty window closes. Report a developing defect the day you notice it. A grout crack noted in month two is under warranty; the same crack reported in month fourteen is a negotiation.
- Letting a third party attempt the repair before the original contractor inspects it. In our experience, a repair attempt by another contractor can void your claim. Give the original installer the documented chance to correct it first.
- Skipping the fan check at final walkthrough. Test the exhaust fan with a tissue at the grille the day the job closes. If it doesn’t hold the tissue, the fan is underpowered or the duct is restricted, and that’s a code issue, not a convenience.
- Assuming a binding door is normal. A door that drags after install was hung out of plumb. Don’t adjust the hinges yourself and hand the contractor a defense that the door “just settled.”
- Paying the final draw before the punch list is signed off. Hold the final payment until every item on the written scope is complete and you have the signed guarantee in hand. That’s what “squared away” looks like at job close: a clean site, a documented scope, and a signed written guarantee in your hand.
- Choosing a contractor on price alone. A bid that’s $3,000 lower than the others often shows up as a shortcut in the substrate, the waterproofing, or the fan duct. Ask where the savings are.
See the difference
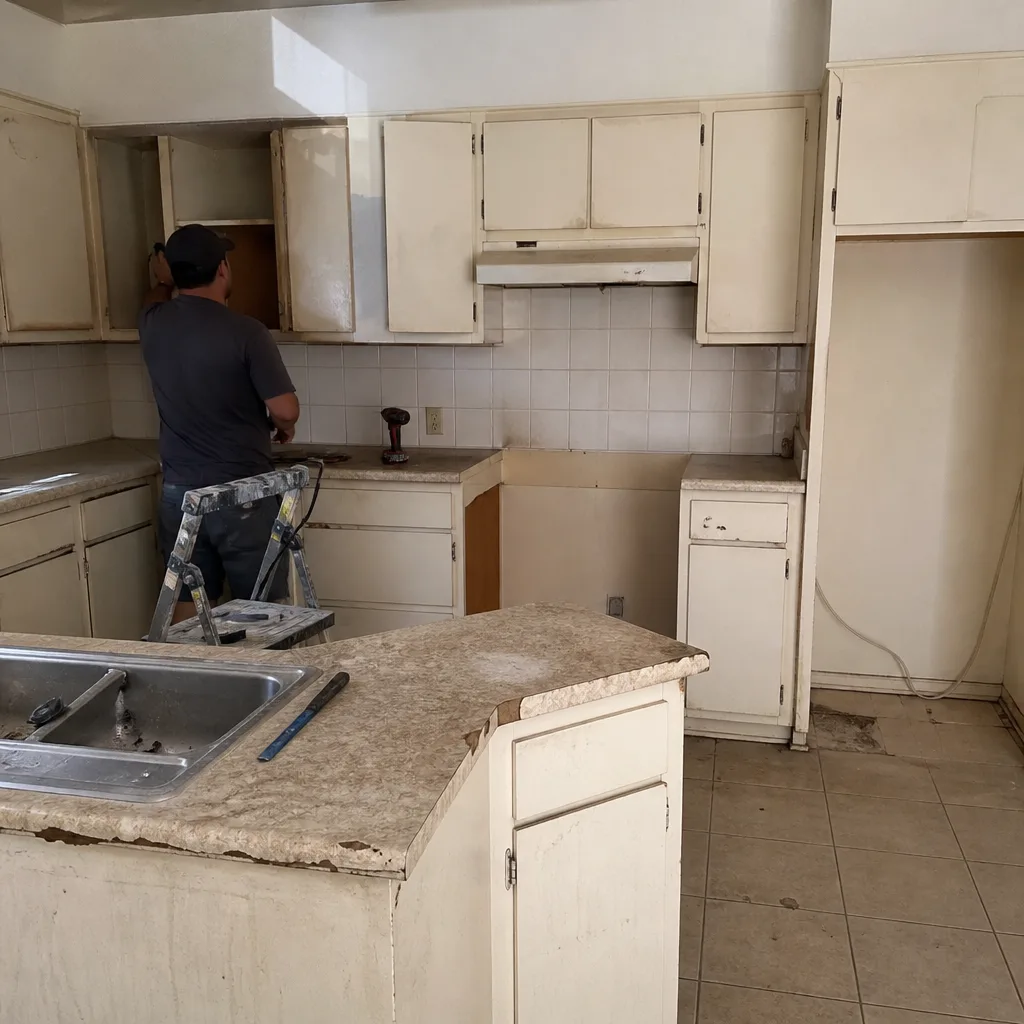 Before
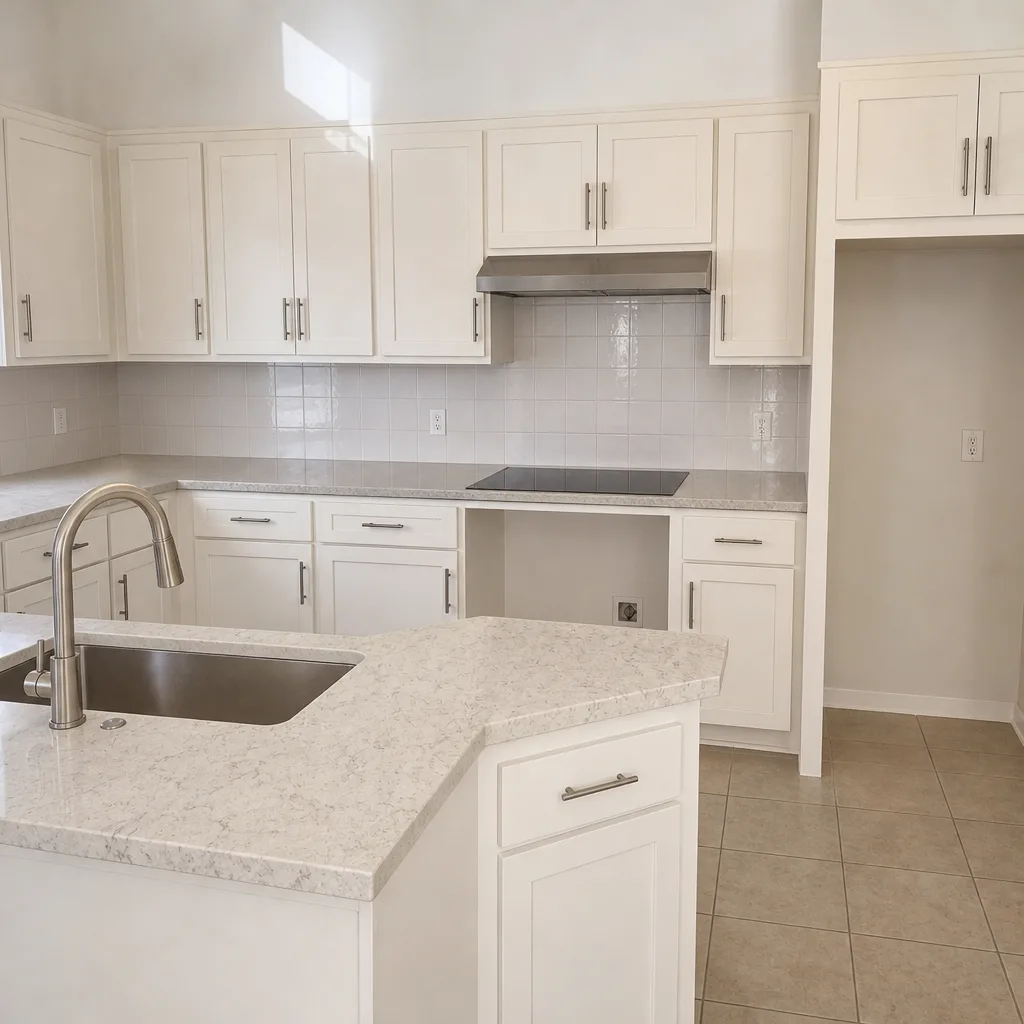 After
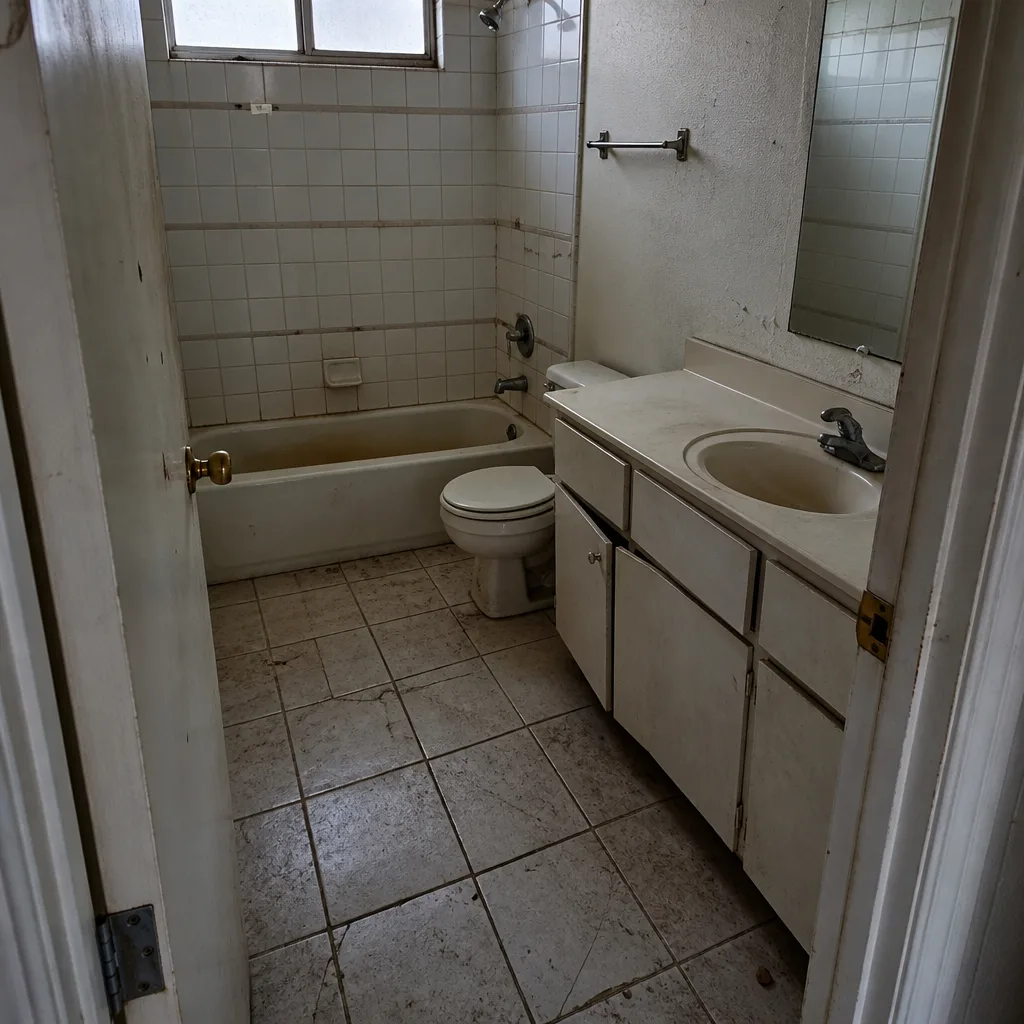 Before
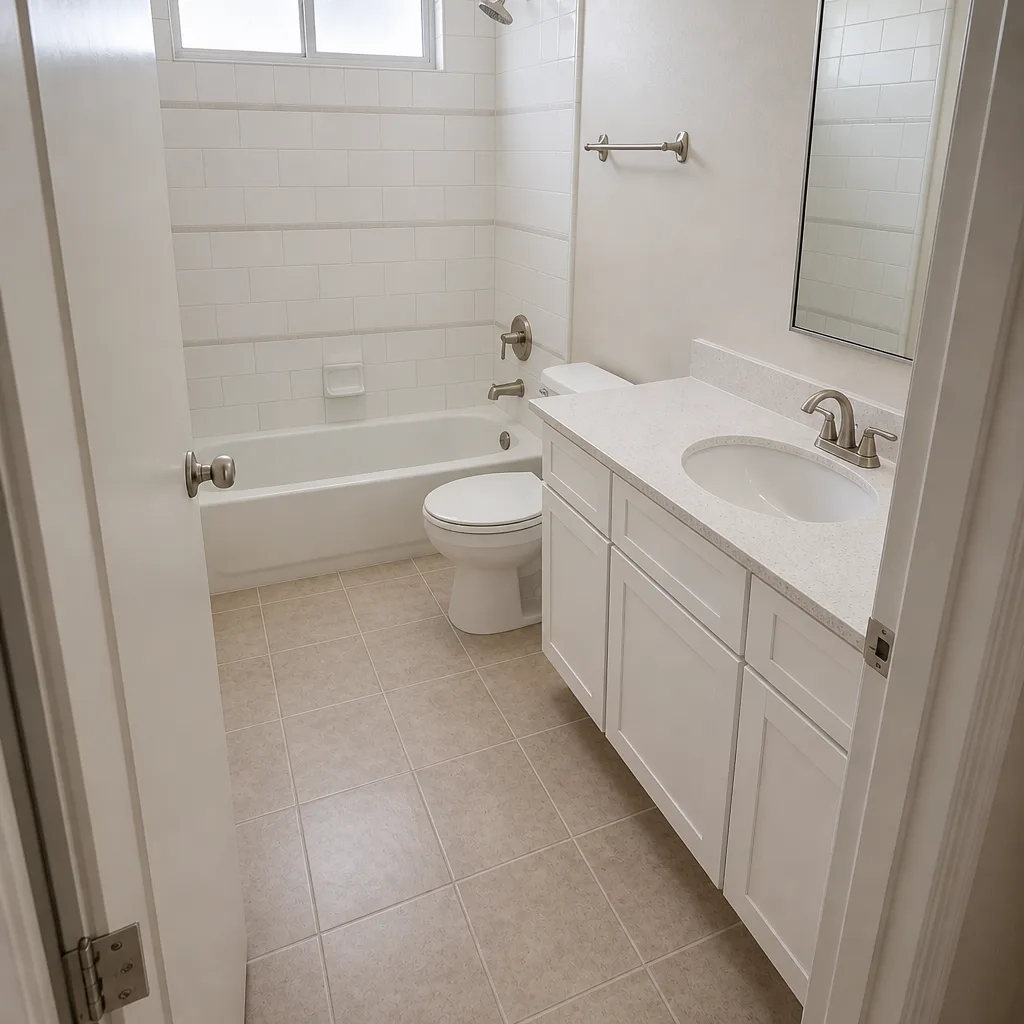 After
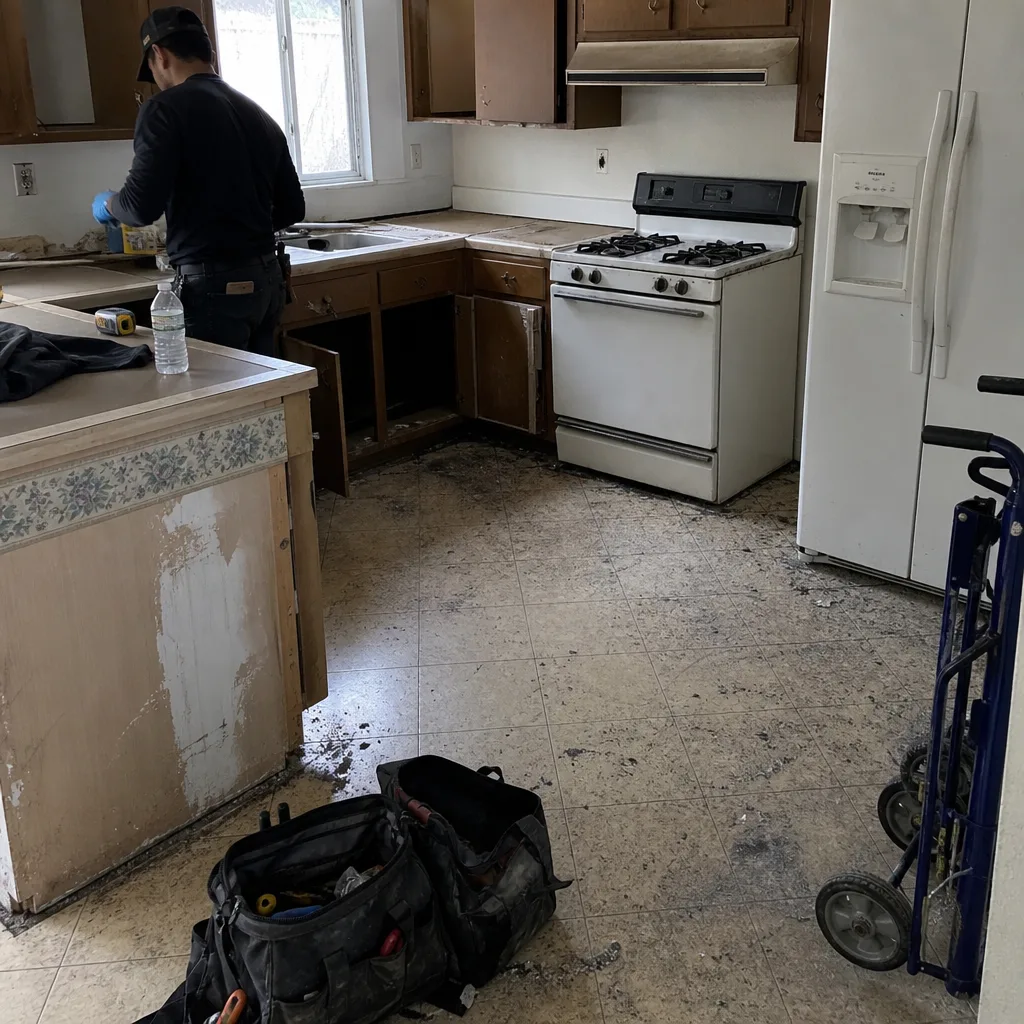 Before
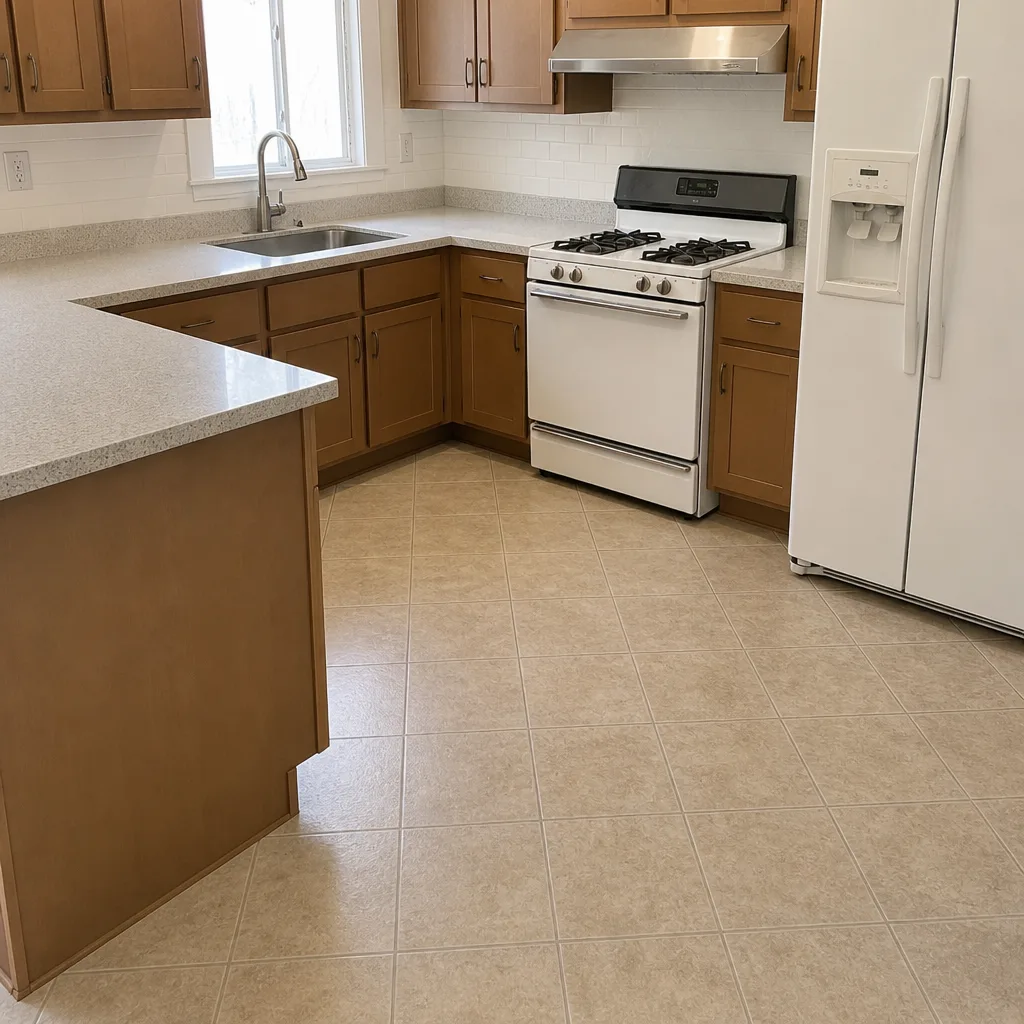 After
When to Call a Professional
Some bathroom problems are maintenance and some are defects, and the line matters. Call a professional when: a musty smell appears behind or under tile, a shower pan holds water instead of draining, a toilet rocks on its flange, a door binds after install, an exhaust fan fails to clear the mirror, or a shower valve was never adjusted to deliver stable pressure and temperature. All of those are installation failures with a fixable cause, and none of them are things to leave for the next owner. For anything behind tile or inside a valve wall, don’t open it yourself; the damage is already done and opening it just moves the water around. See our Summerlin home remodeling page for the full range of work we do. Bradford Remodeling Co Summerlin offers free estimates in Summerlin. Call (844) 588-0072 to schedule yours; a live person answers 24/7.
Frequently Asked Questions
Report it as soon as you see it, and photograph it the same day. Grout cracks that appear within 90 days of installation are almost always substrate-related and within warranty. Waiting lets the contractor argue that seasonal movement or homeowner use caused the crack. A specific, dated claim with photos is what makes the defect actionable.
It can be. The IRC requires a minimum of 50 CFM for an intermittent bathroom fan, and the fan must be sized to the room’s square footage and vented outdoors. If the mirror fogs and stays fogged for ten minutes or more after a shower, the fan is undersized or the duct is restricted. A fan vented into an attic instead of outside is a clear violation. Call (844) 588-0072 if you want an assessment.
Maintenance is expected upkeep: re-caulking the tub perimeter, replacing a worn flapper, cleaning scale off fixtures. A warranty claim covers installation failures: grout cracking from a missing control joint, water intrusion from a failed membrane, a toilet that rocks from a bad flange set, an exhaust fan that never met the room’s CFM. The category determines who pays. Get the category right before you call.
Check the warranty language and the stated coverage period; that’s the document that governs. A one-year written guarantee on the full installation is standard for a quality remodel, and that’s what our 365-Day Done Right Promise provides: if the work fails within the year, we return and correct it at no charge. A verbal “we’ll look at it” is not the same thing and should never be accepted as a substitute.
No, it’s not strictly required, but it’s the sensible step before a filing. A demand letter states the defect, the remedy, and a deadline for a response, and it gives the contractor a documented chance to fix the problem before it becomes a court matter. Nevada’s small claims process handles disputes up to a jurisdictional limit and doesn’t require an attorney. Sending the demand letter first is how you build the record.
Yes, if the cause is a flapper chain or a worn flapper. Those are maintenance. You should not attempt it yourself if the toilet rocks on the flange or the valve doesn’t match the model; those are installation issues. Document the symptom with a short video, note the toilet model, and raise it as a claim. Call (844) 588-0072 for a free estimate if you want the whole bathroom looked at.
The Bottom Line
The problems that surface after a bathroom remodel is “done” are usually traceable to a small set of installation failures: substrate movement under tile, a missed waterproof membrane, an undersized or improperly vented exhaust fan, a flapper or fill valve spec mismatch, and a door hung out of plumb. Naming the cause is what turns a complaint into an actionable claim, and the written warranty is what makes it enforceable. For a kitchen remodeling in Sandy Valley project or a full whole-home remodel in Summerlin, the same standard applies. Every Bradford Remodeling Co Summerlin project carries a written price before work starts and the 365-Day Done Right Promise: a full-year written guarantee, and if the work fails inside that window, we return and correct it at no charge. That’s The Garrison Standard, and it’s what a squared-away job looks like. Call (844) 588-0072 for a free estimate; a live person answers any hour. Our technicians have up to 22 years of experience, and our installs use documented brands like KraftMaid, Cambria, and Kohler.
Written by the team at Bradford Remodeling Co Summerlin.